Mac Pro (2019) SSD Adapter V2 Installation Guide
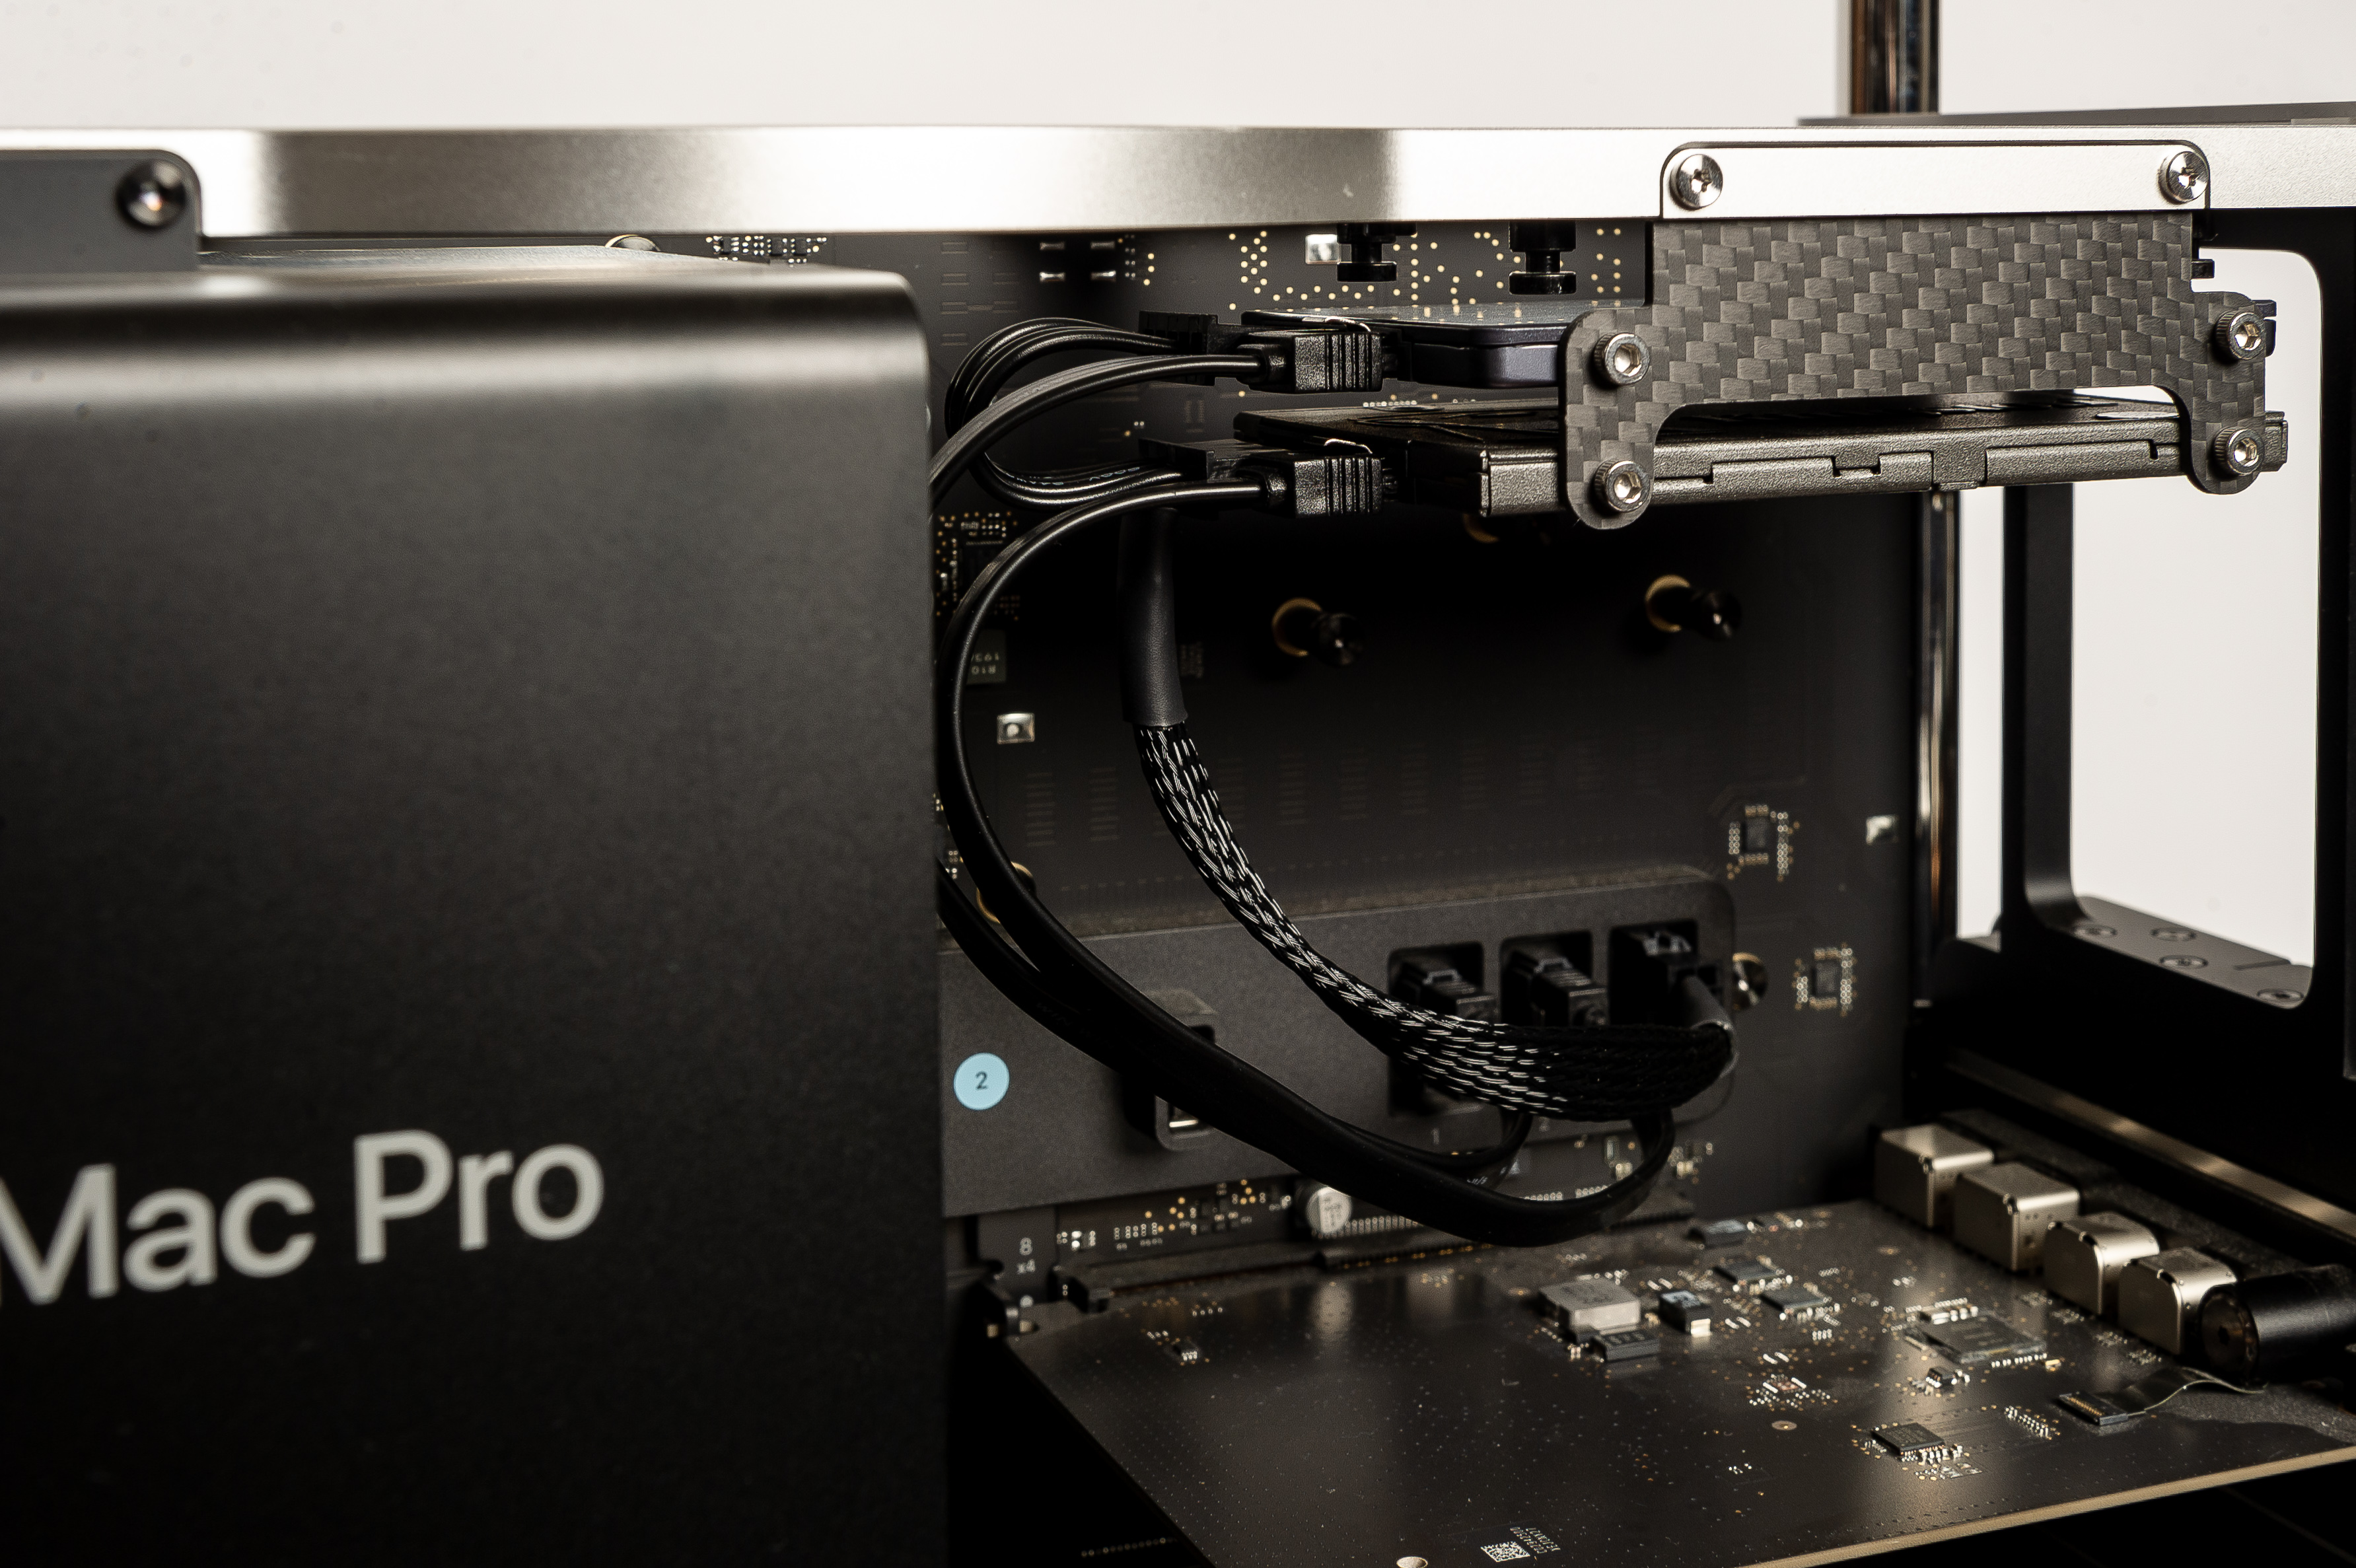
How to install one or two 2.5" drives in your Mac Pro (2019). The above photo might be all you need, but the rest of this page explains every step, just in case.
If you don't already have a kit, they are available here
Preparation
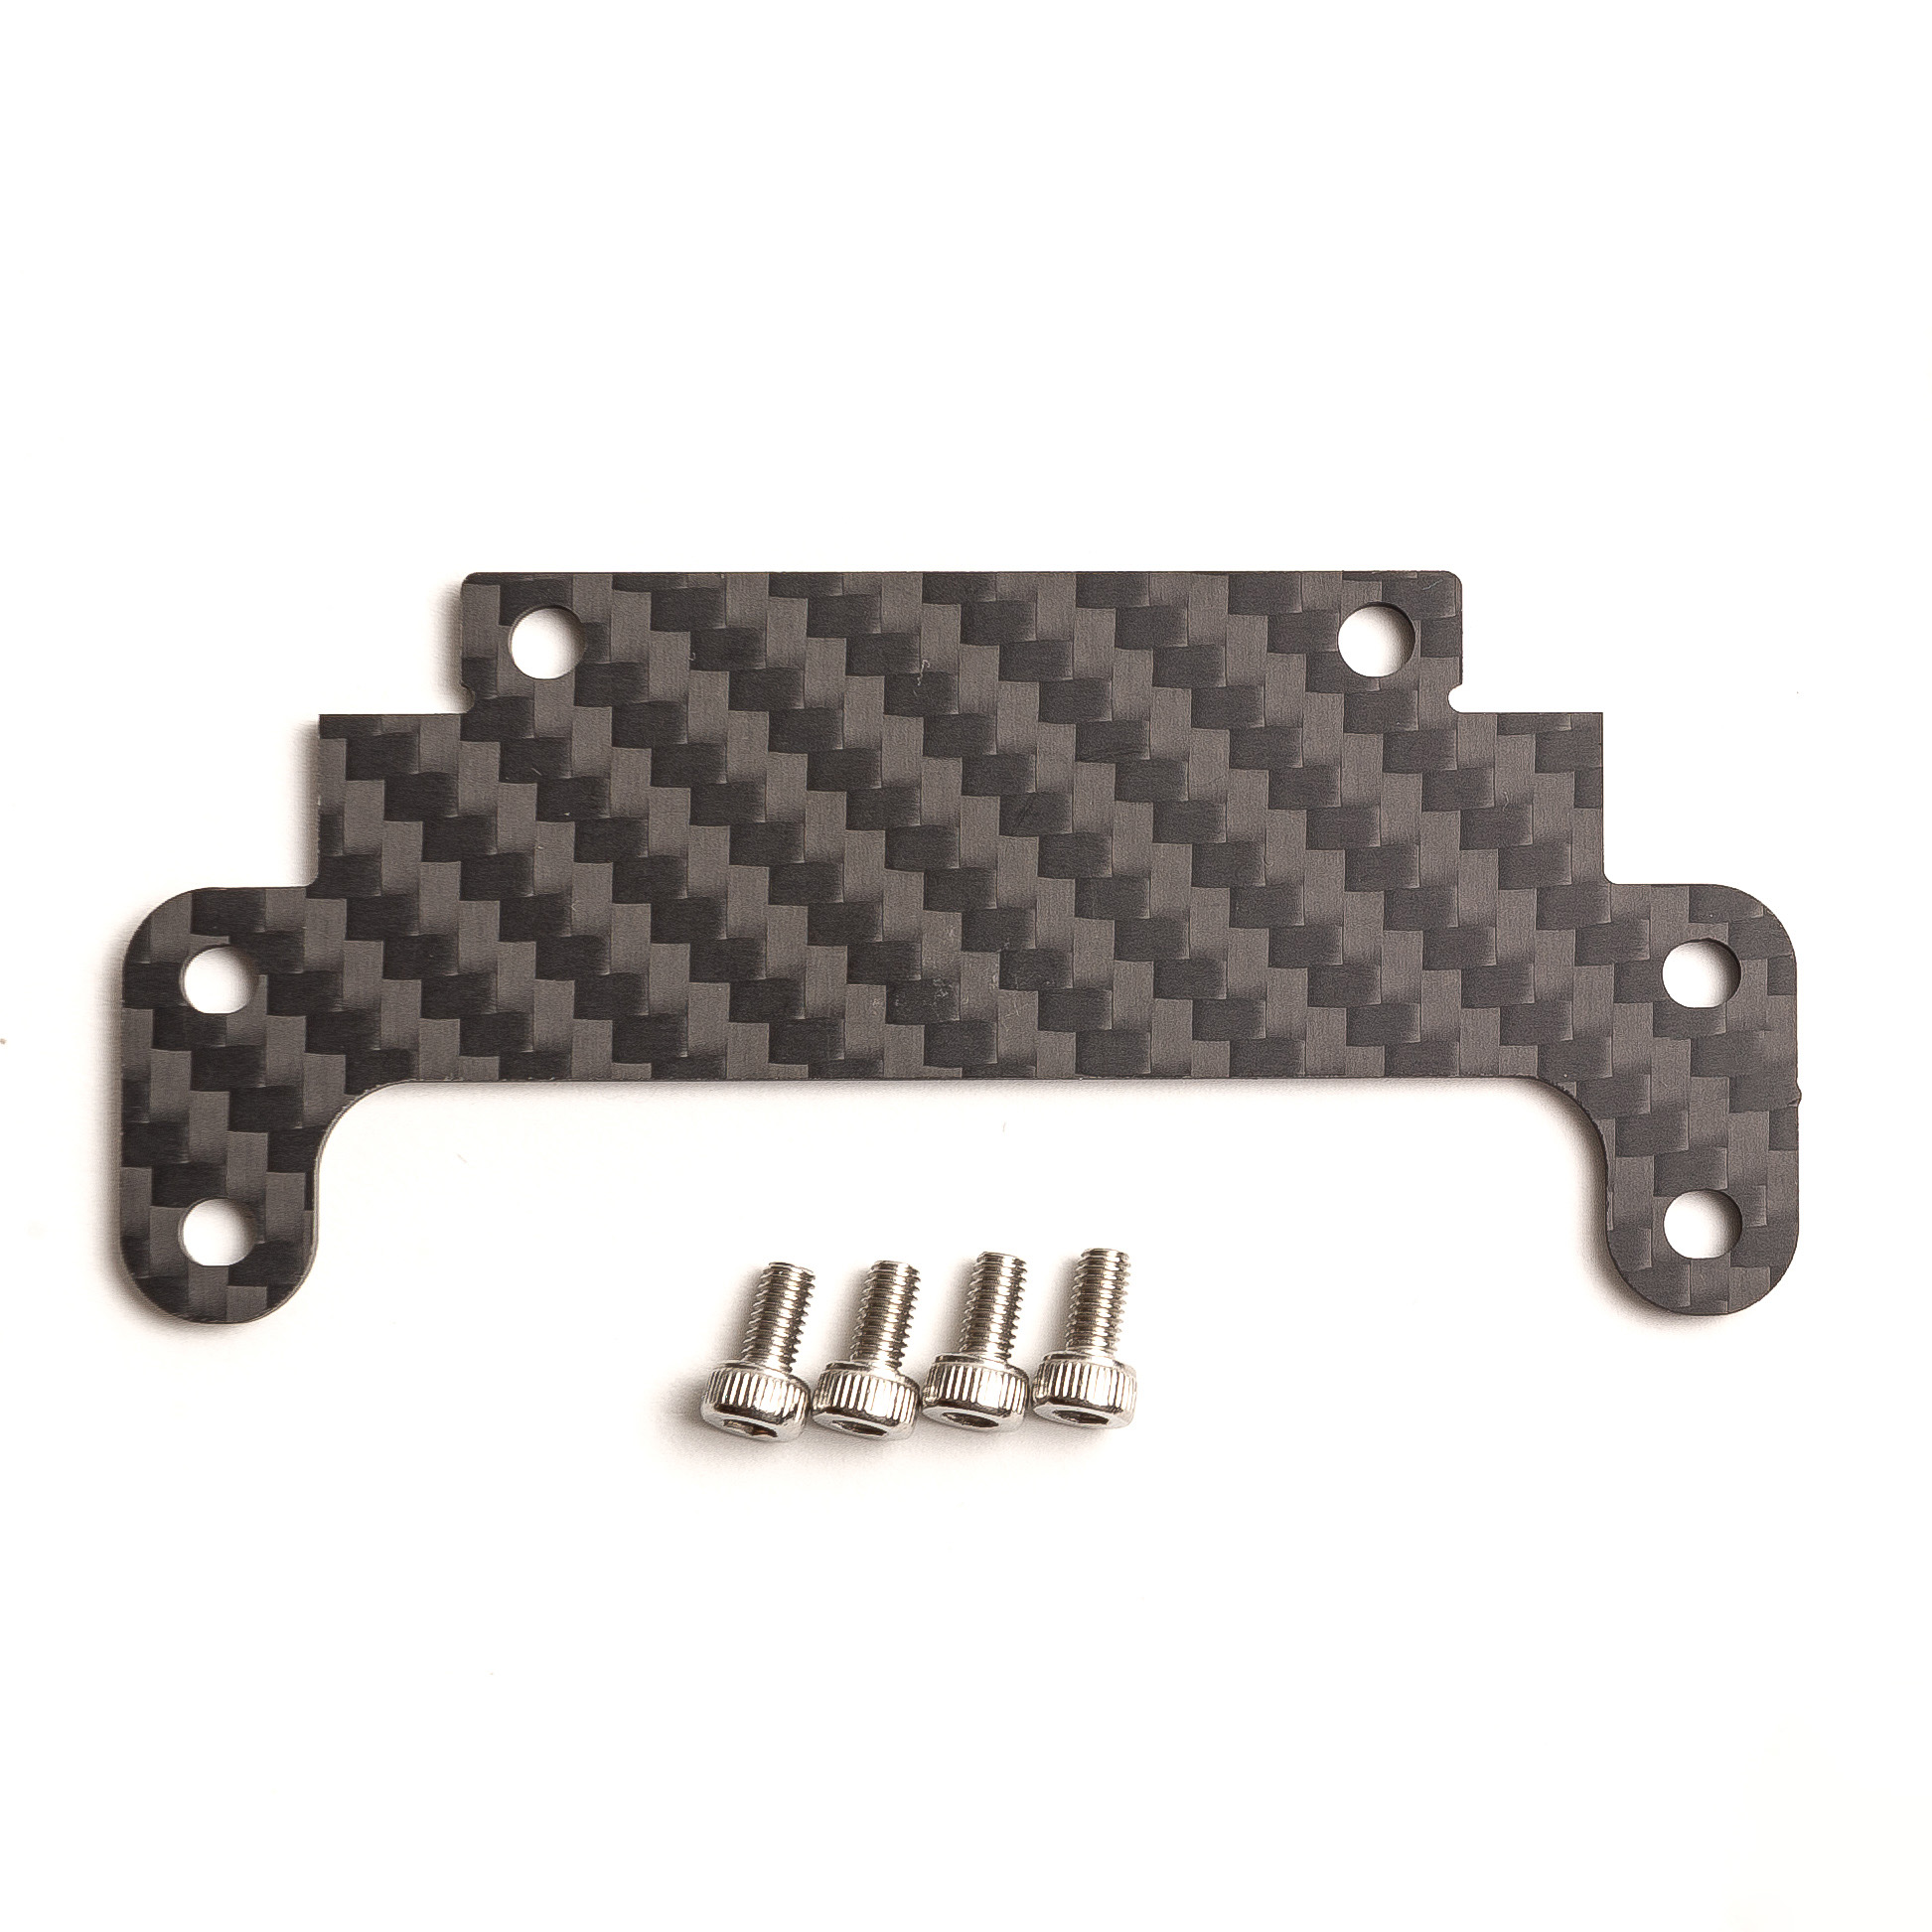
Included in the kit:
- A macpro.io Mac Pro (2019) SSD Adapter
- 4× M3×6mm screws (2 per drive)
Not included: (see main page for ordering info)
- 1× or 2× 2.5" drives — SSDs recommended
- Screwdriver: Torx T8
- Hex driver: 2.5mm
- 1× or 2× SATA data cable(s): straight connectors are required, and a minimum 25cm (10") length is recommended.
- A Mac Pro 2019 SATA power cable
Step 1: Prepare the drives
Attach the bracket to your SSD(s) with two screws per drive. If you're installing a single drive, you can use the orientation you prefer.
The drive connectors should face towards the front of the case when installed (the side with the fans).
Perpendicular:
Or parallel:
In parallel orientation, the screws go in from behind.
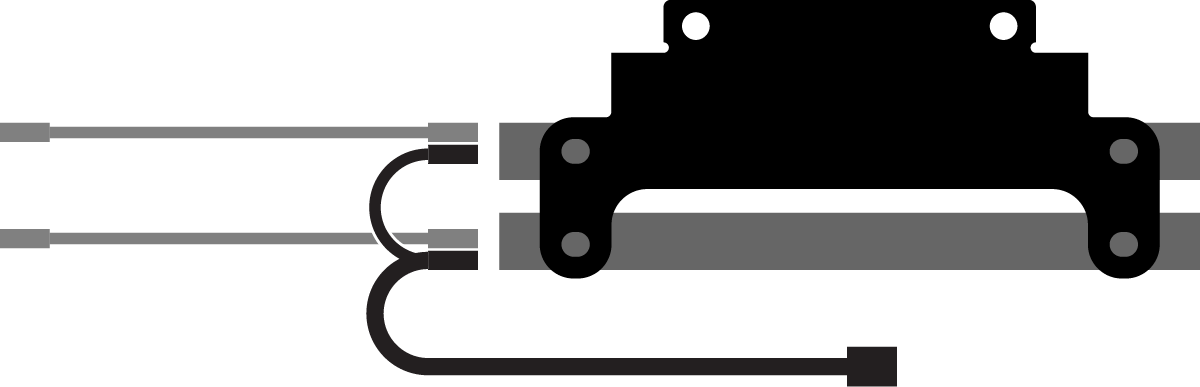
Step 2: Wiring 1/2
Connect the power and data cables to your drives. They should click in relatively easily and they only go in one way.
Step 3: Prepare the Mac
Open your Mac Pro following Apple's instructions.
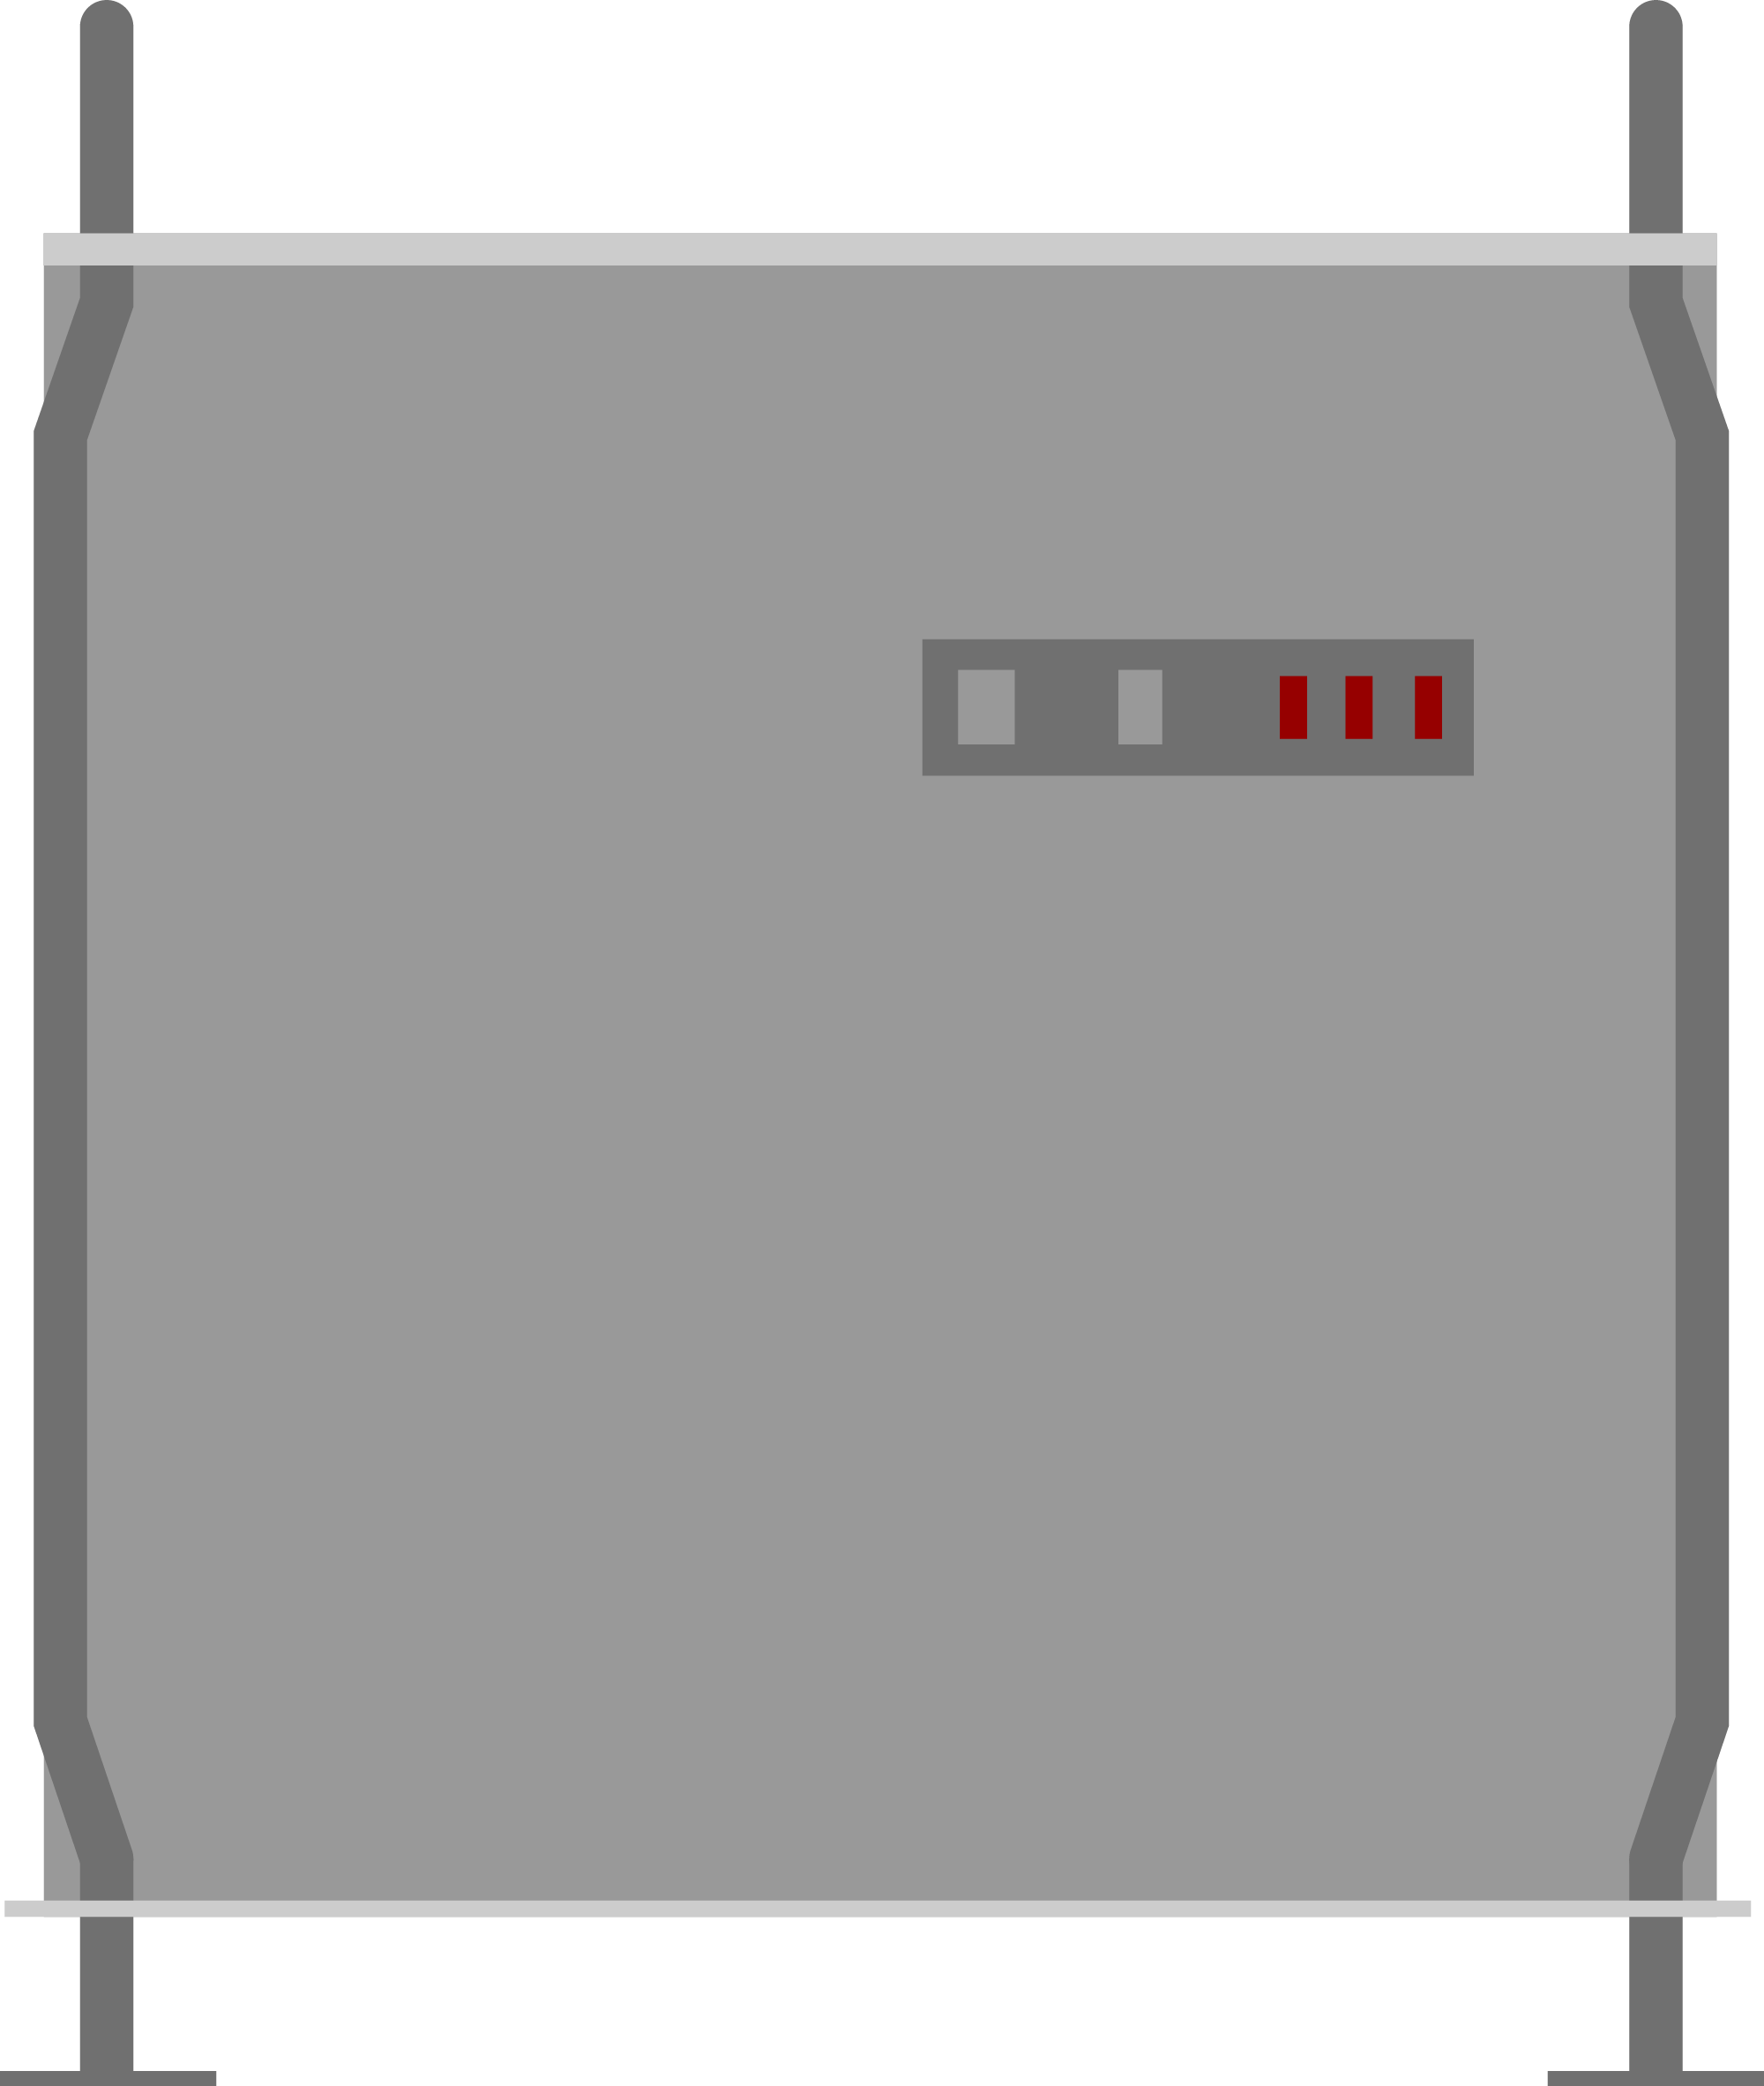
Using a torx T8 driver, remove the small aluminium bracket from the Mac's frame.
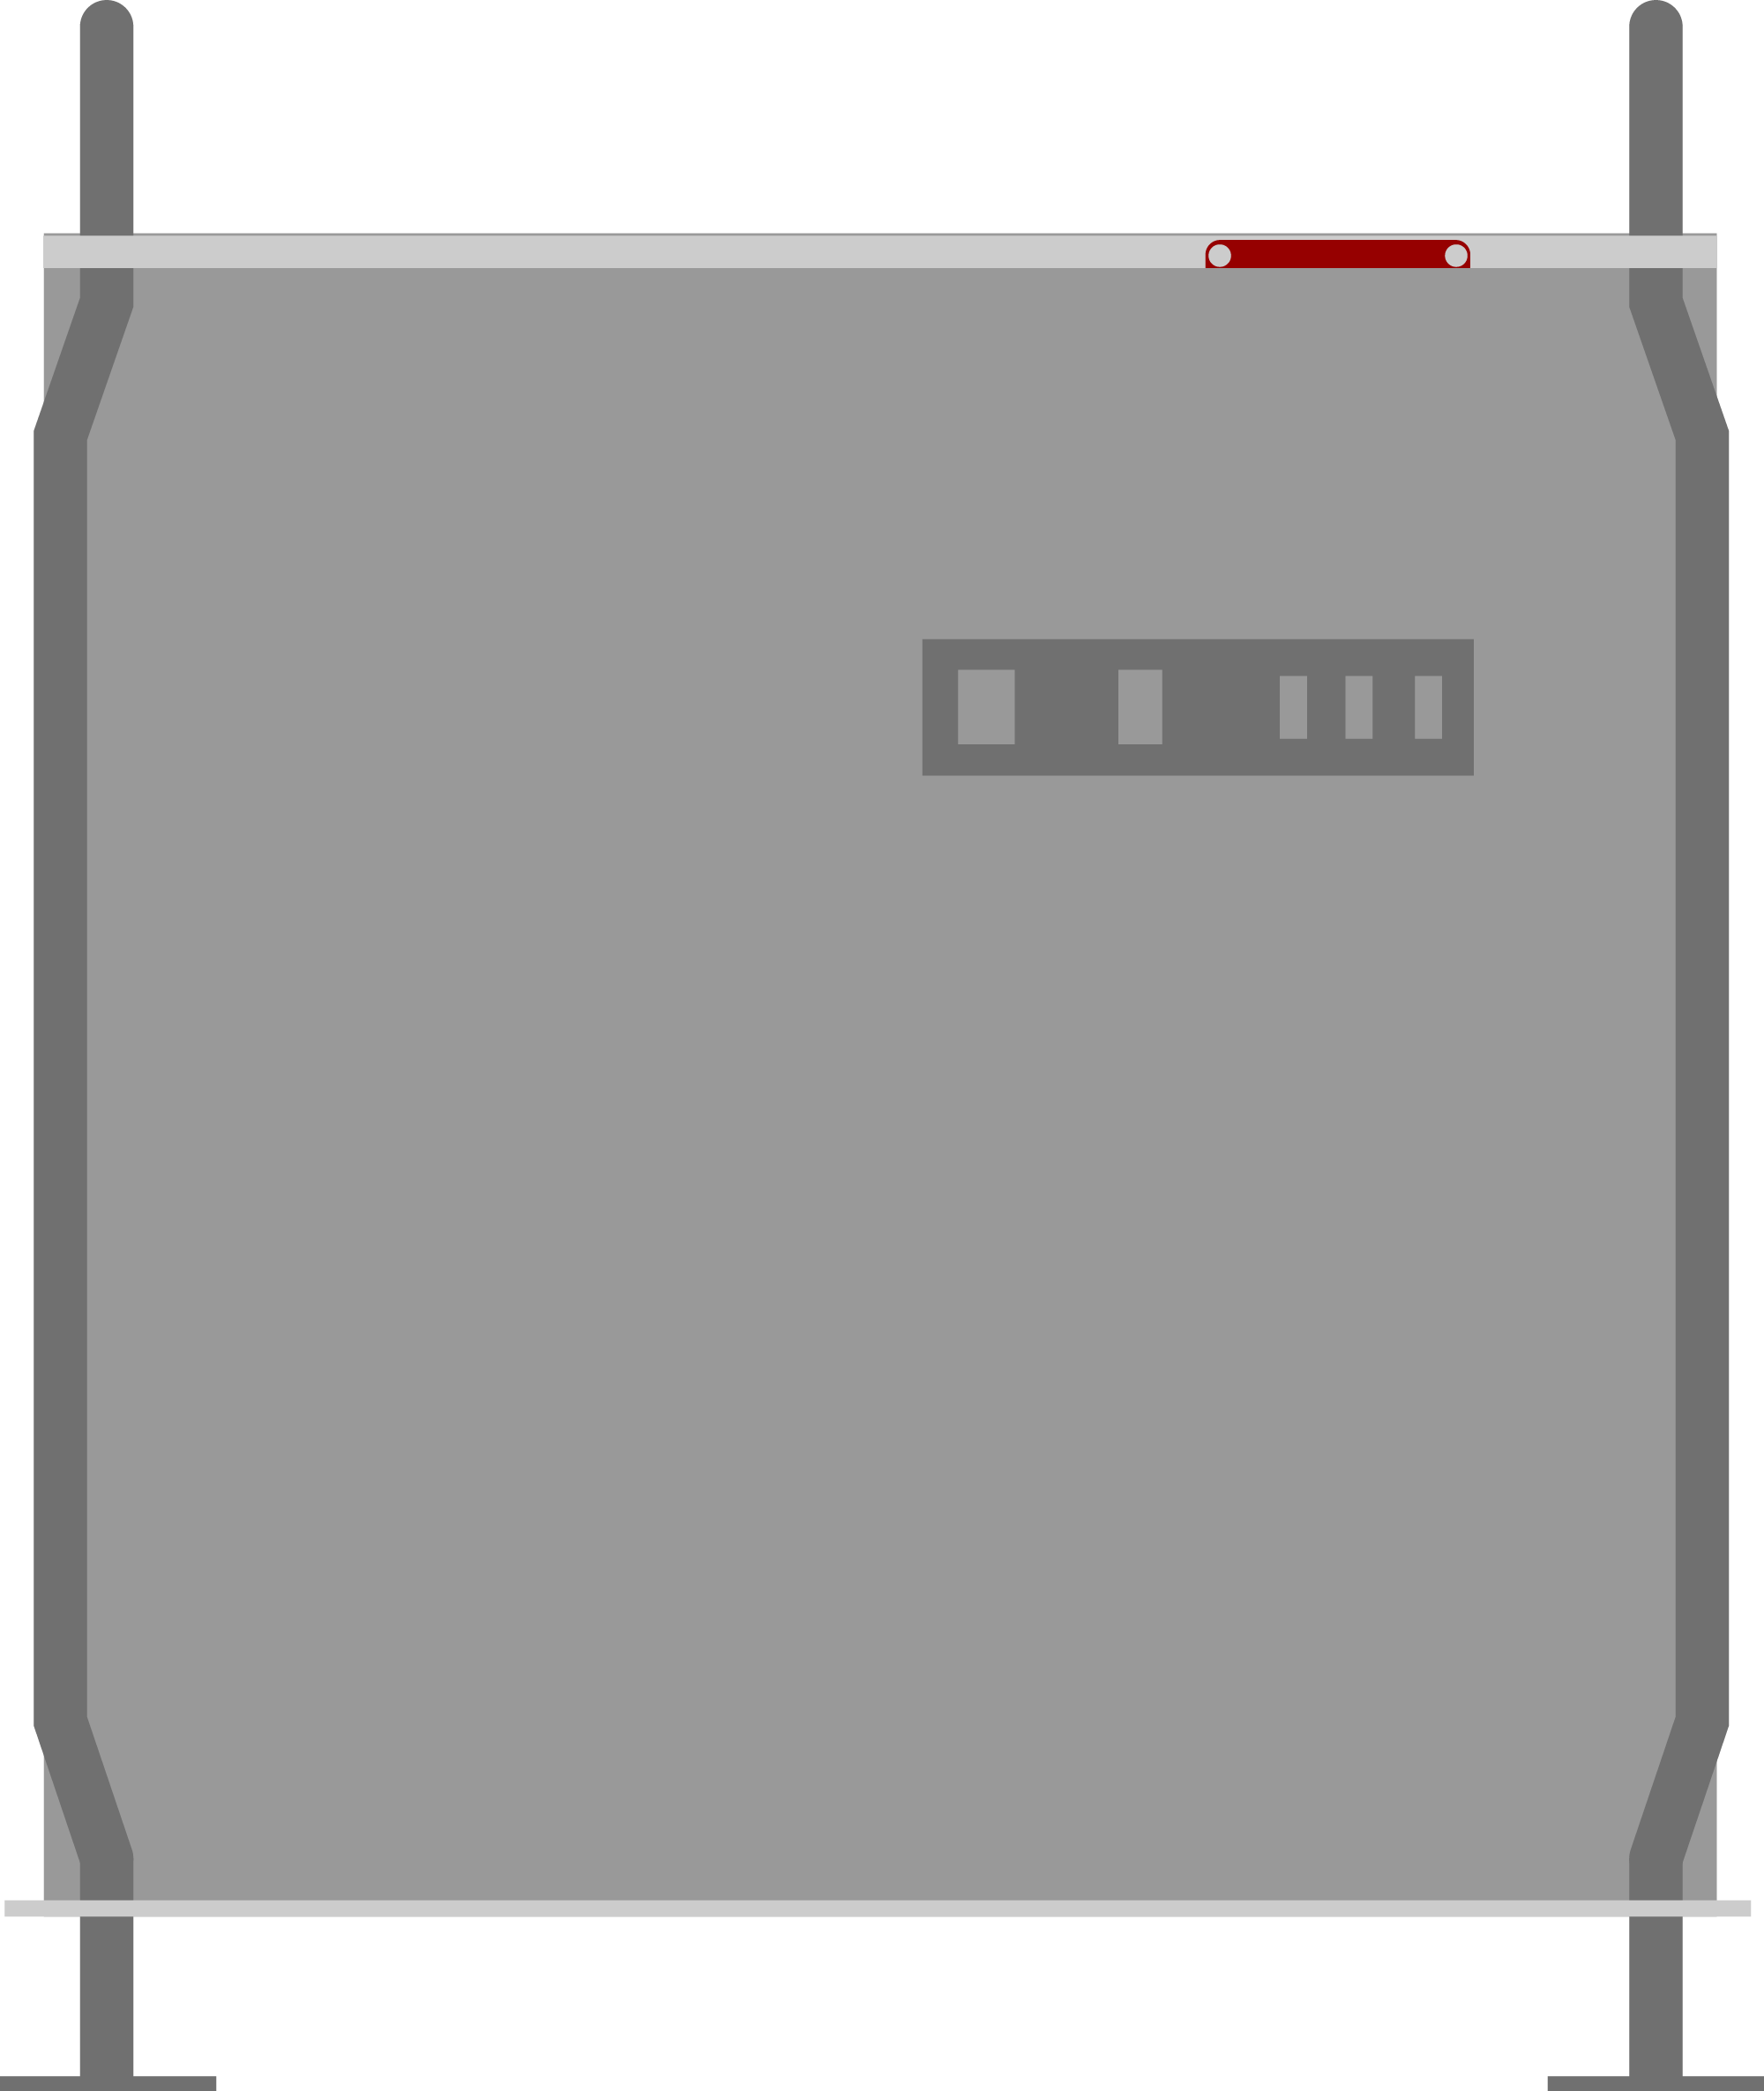
The bracket is located in a similar place on the rack version.
You'll use the bracket and screws in the next step, so keep them handy.
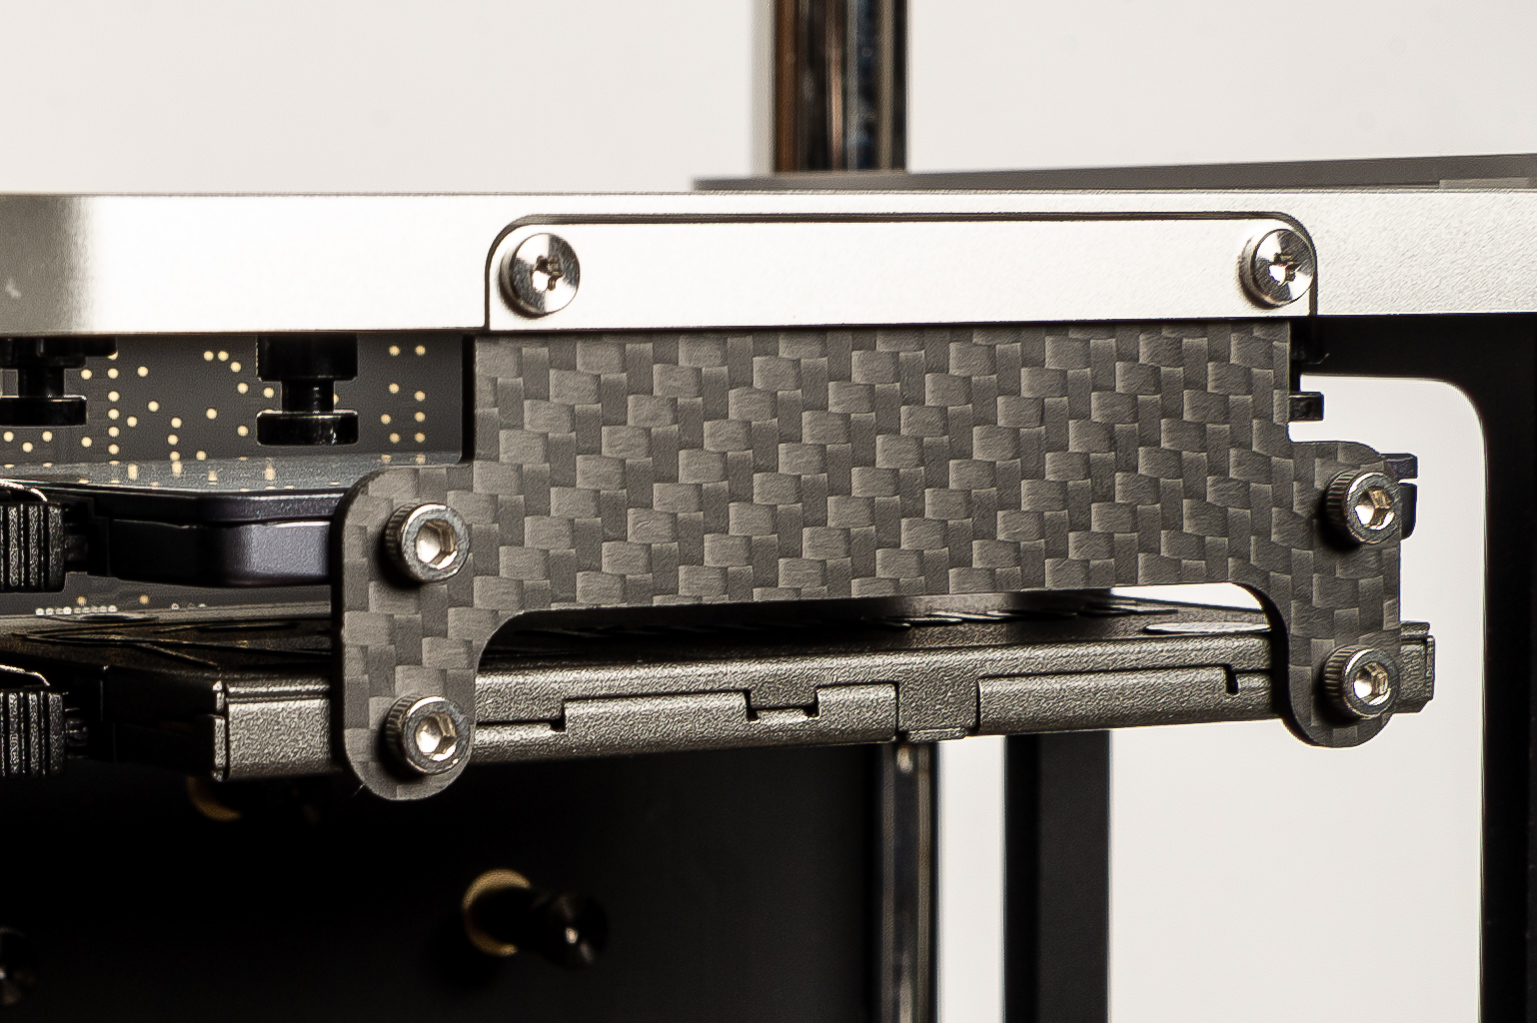
Step 4: Sandwich time
Sandwich the adapter into the slot using the original bracket — being careful not to overtighten them. Torx screws can handle a lot more torque than the aluminium frame can, so be gentle... The screws should be snug.
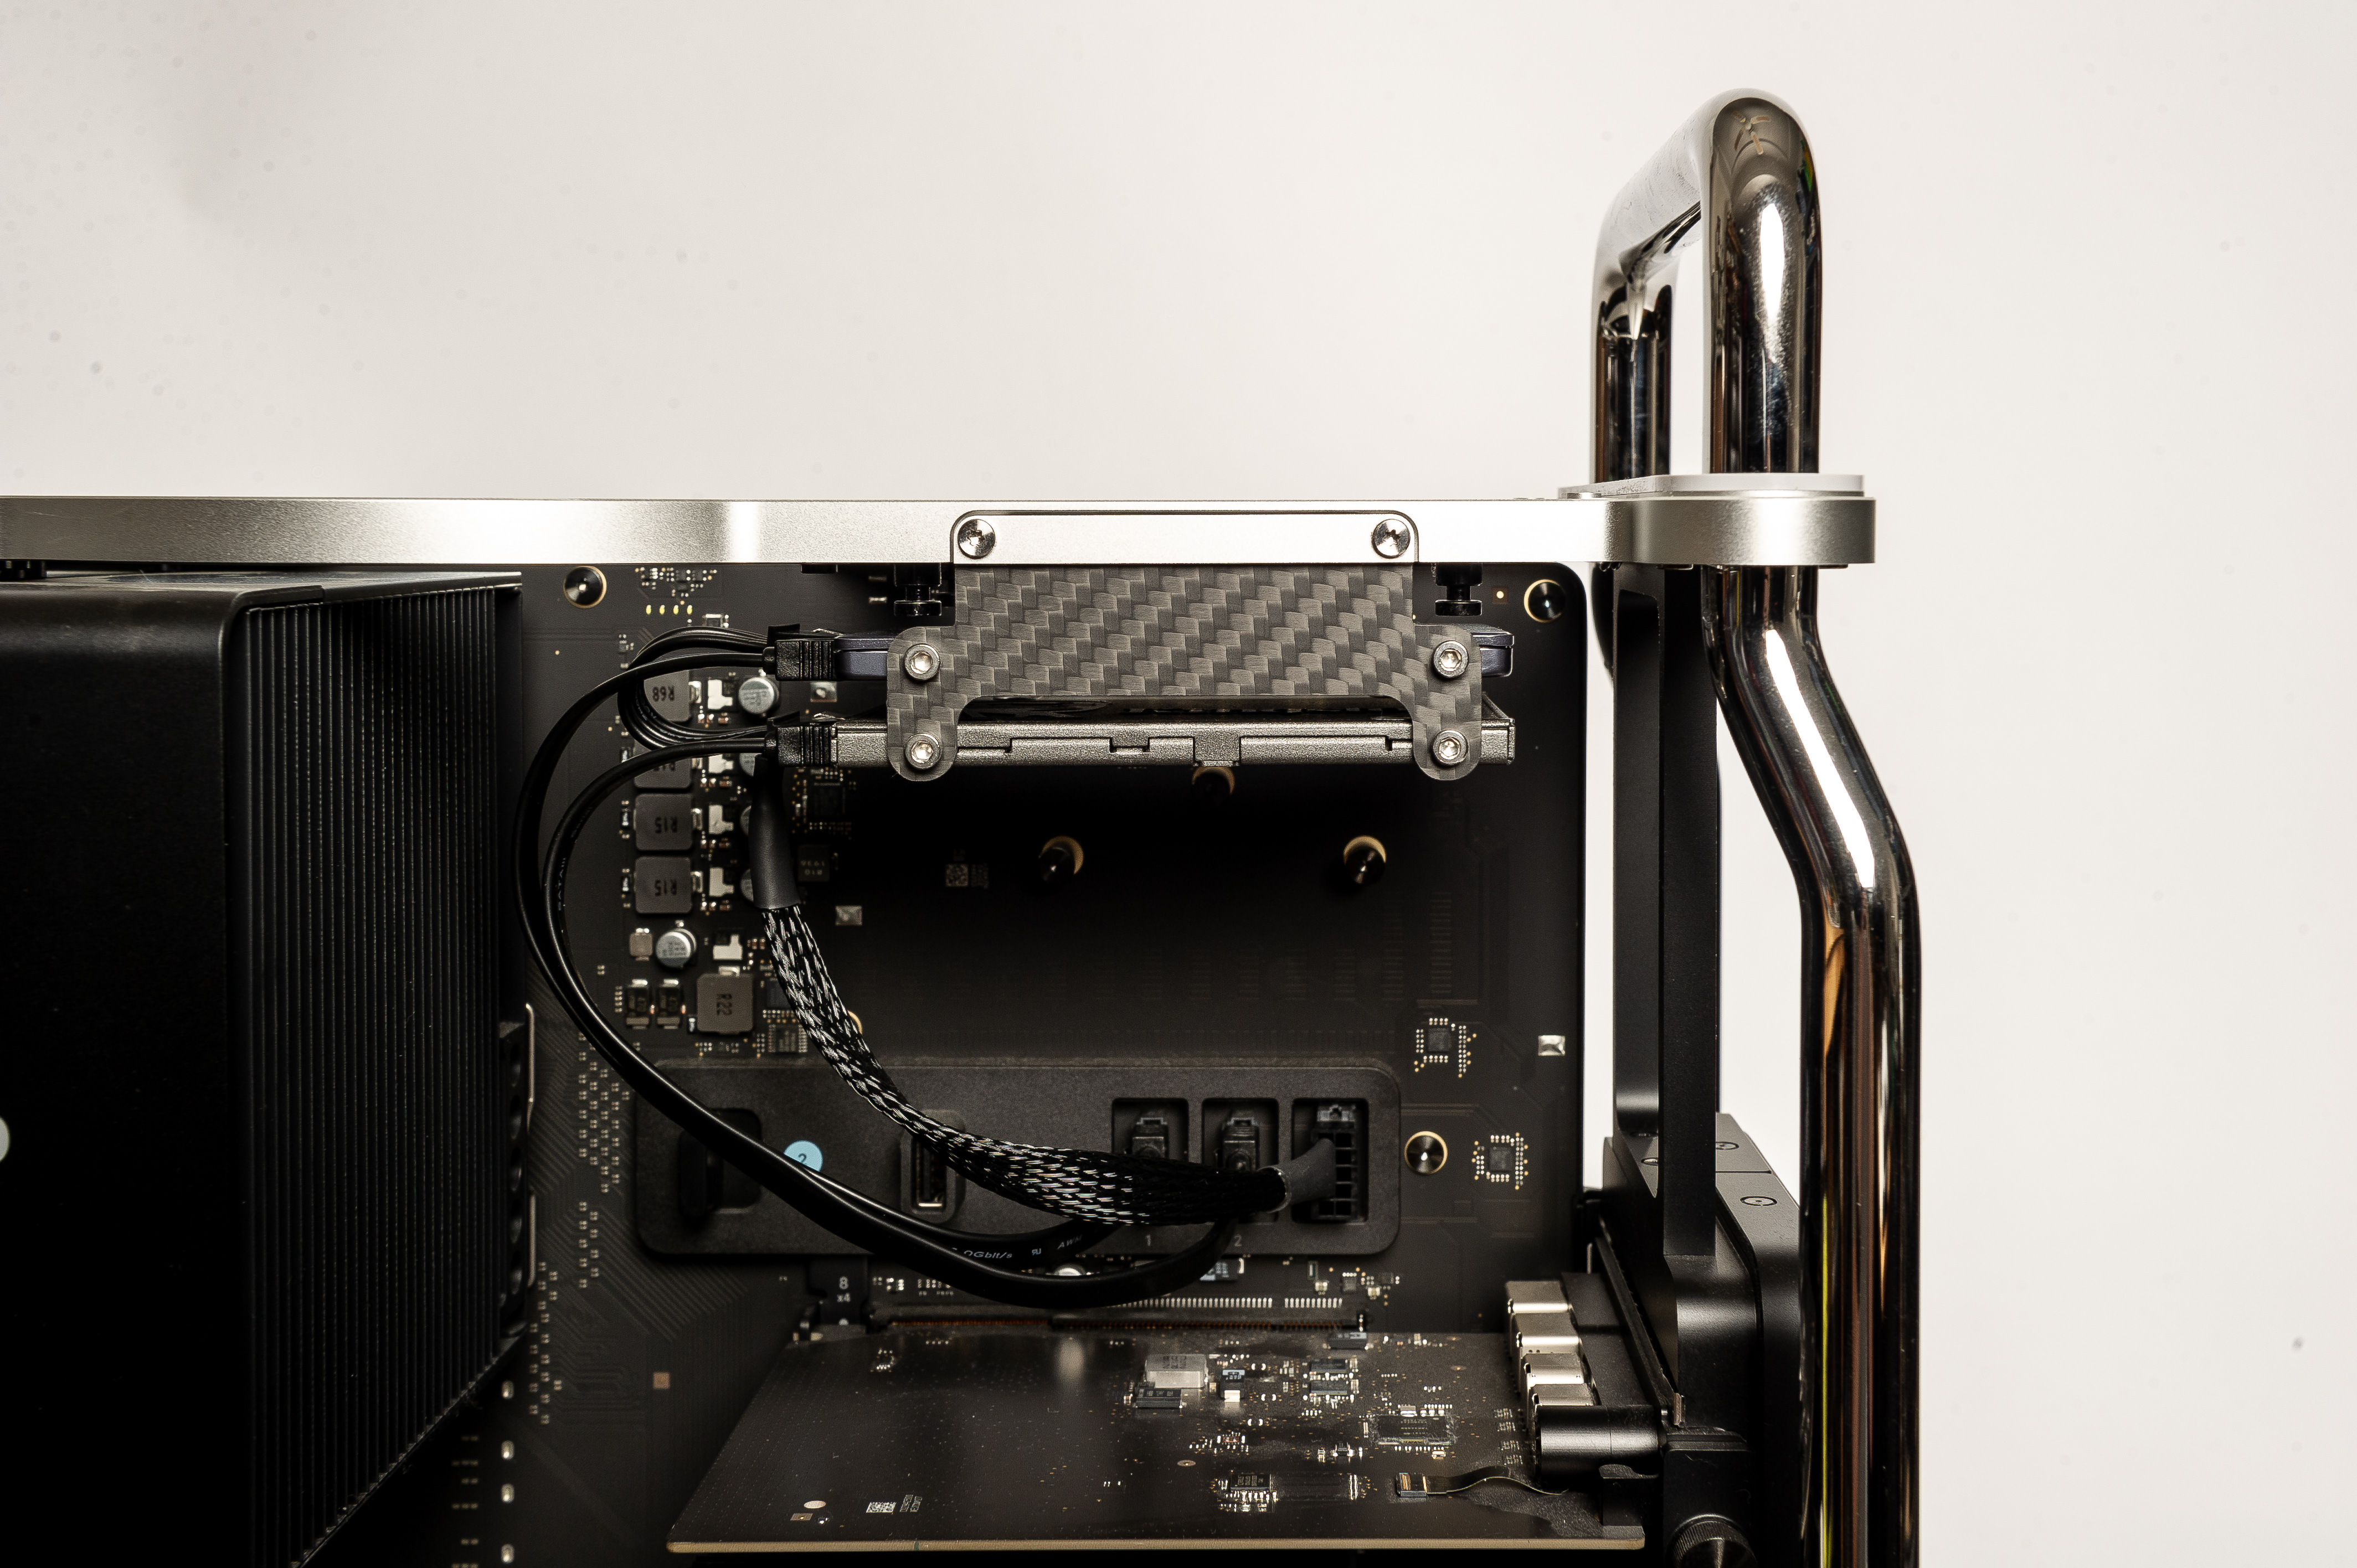
Step 5: Wiring 2/2
Connect power and data cables to the mainboard. The mainboard connectors are located here:
Finally...
Carefully close your Mac and reconnect everything.
Congratulations, you now have affordable and expandable storage!