Mac Pro (2019) SSD Adapter (V1) Installation Guide
For the newer version (V2) of this bracket, instructions are here
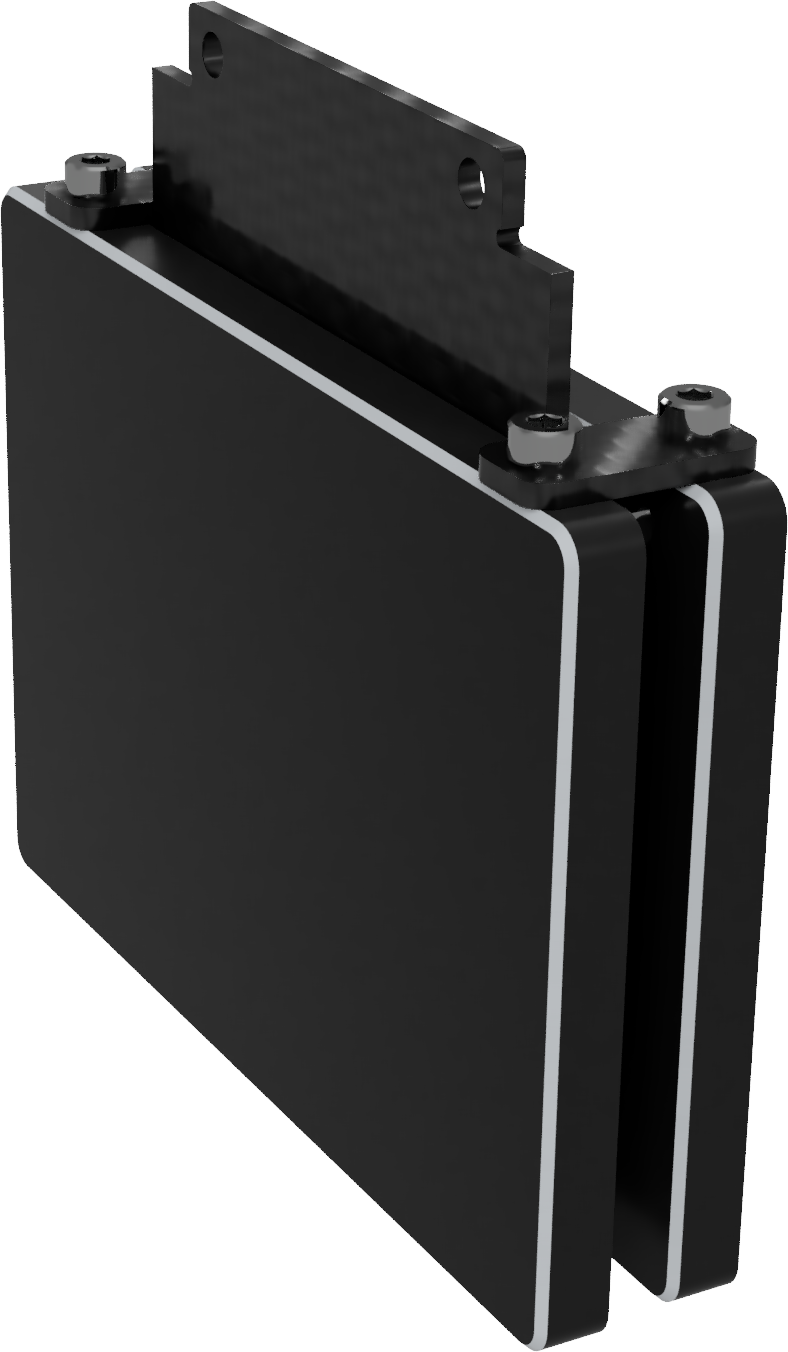
Step 1
Screw the main bracket to your primary SSD
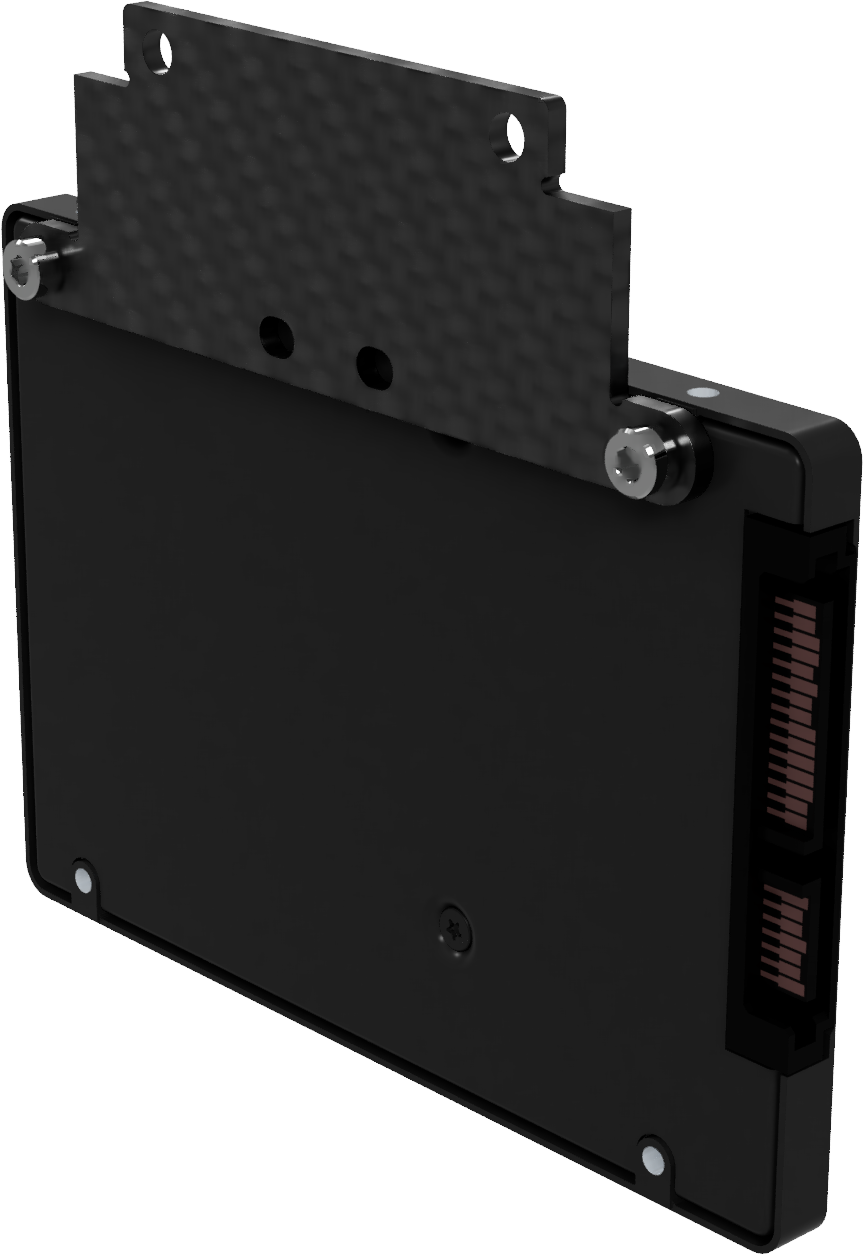
Step 2
If installing a second drive, install two small brackets onto the top side of the primary drive, crossing over the main bracket
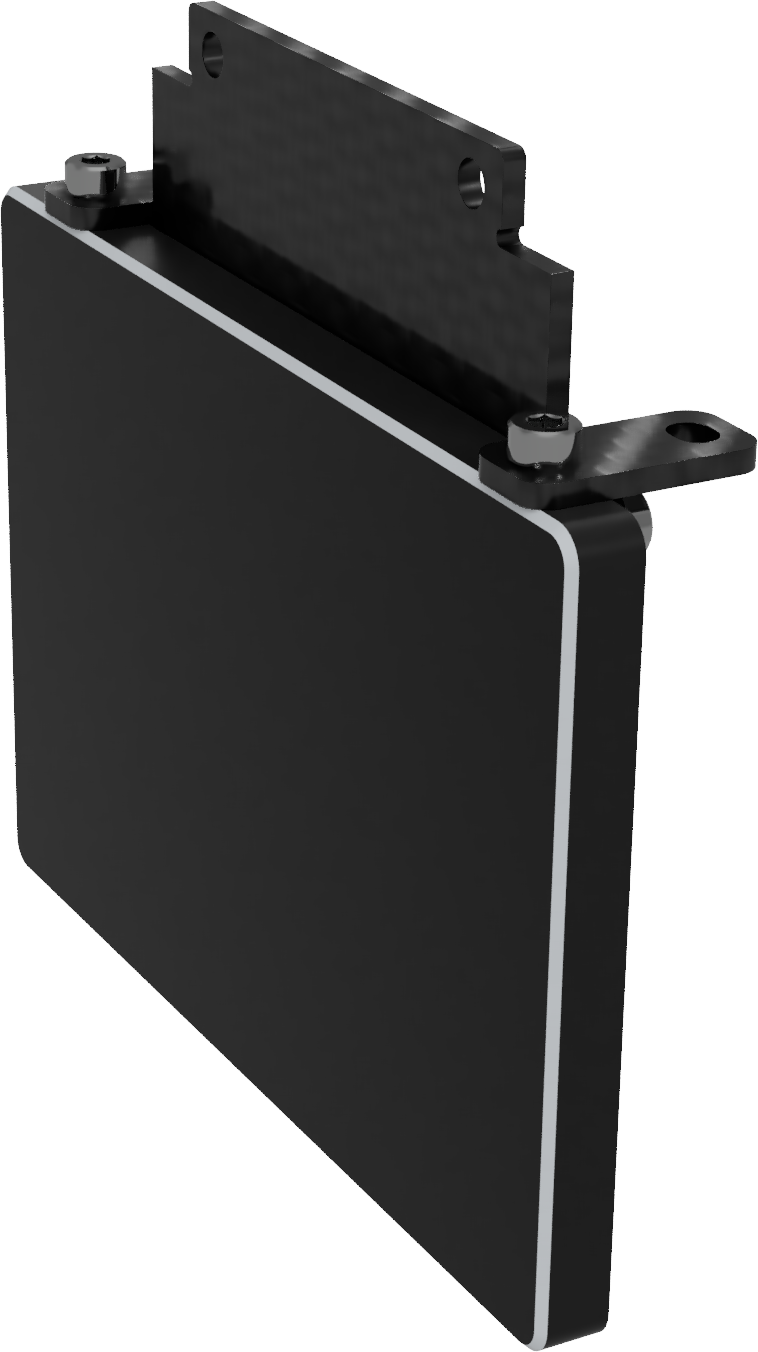
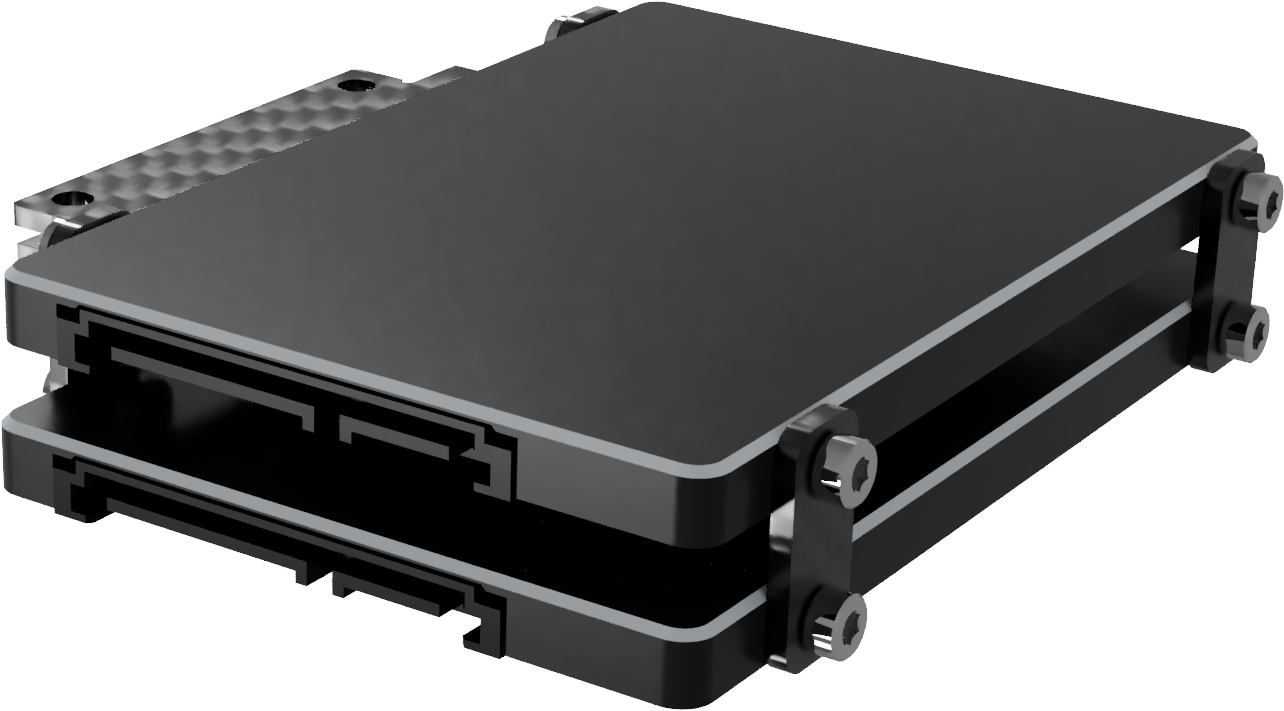
Step 3
Attach your secondary drive to the small brackets, facing the same direction as the primary drive
Step 4
Attach the other two small brackets across the bottom edges of both drives
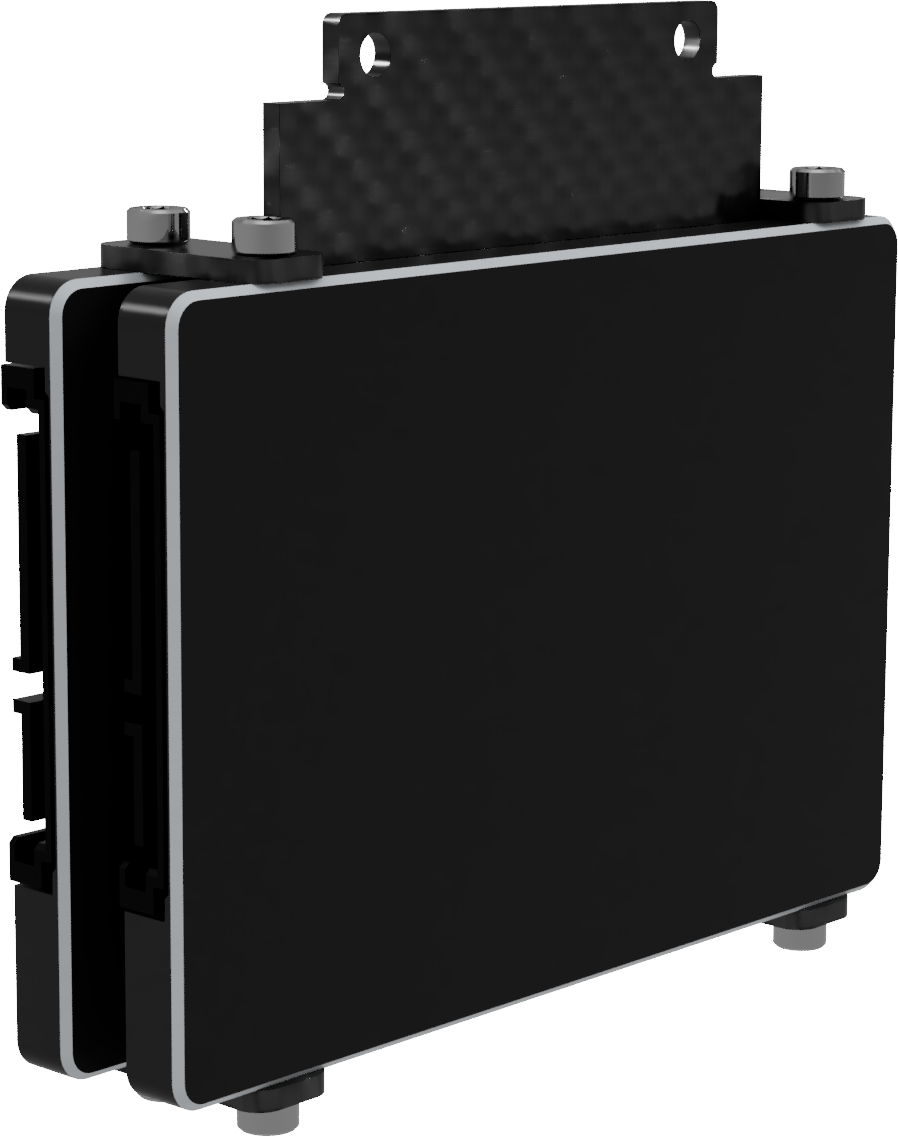
Step 5
Assembly is complete. Now onto installation!
Unplug all cables from your Mac and remove the cover, following Apple’s instructions
Step 6
Connect the power and data cable(s) to the motherboard connectors located above the PCIe slots
Step 7
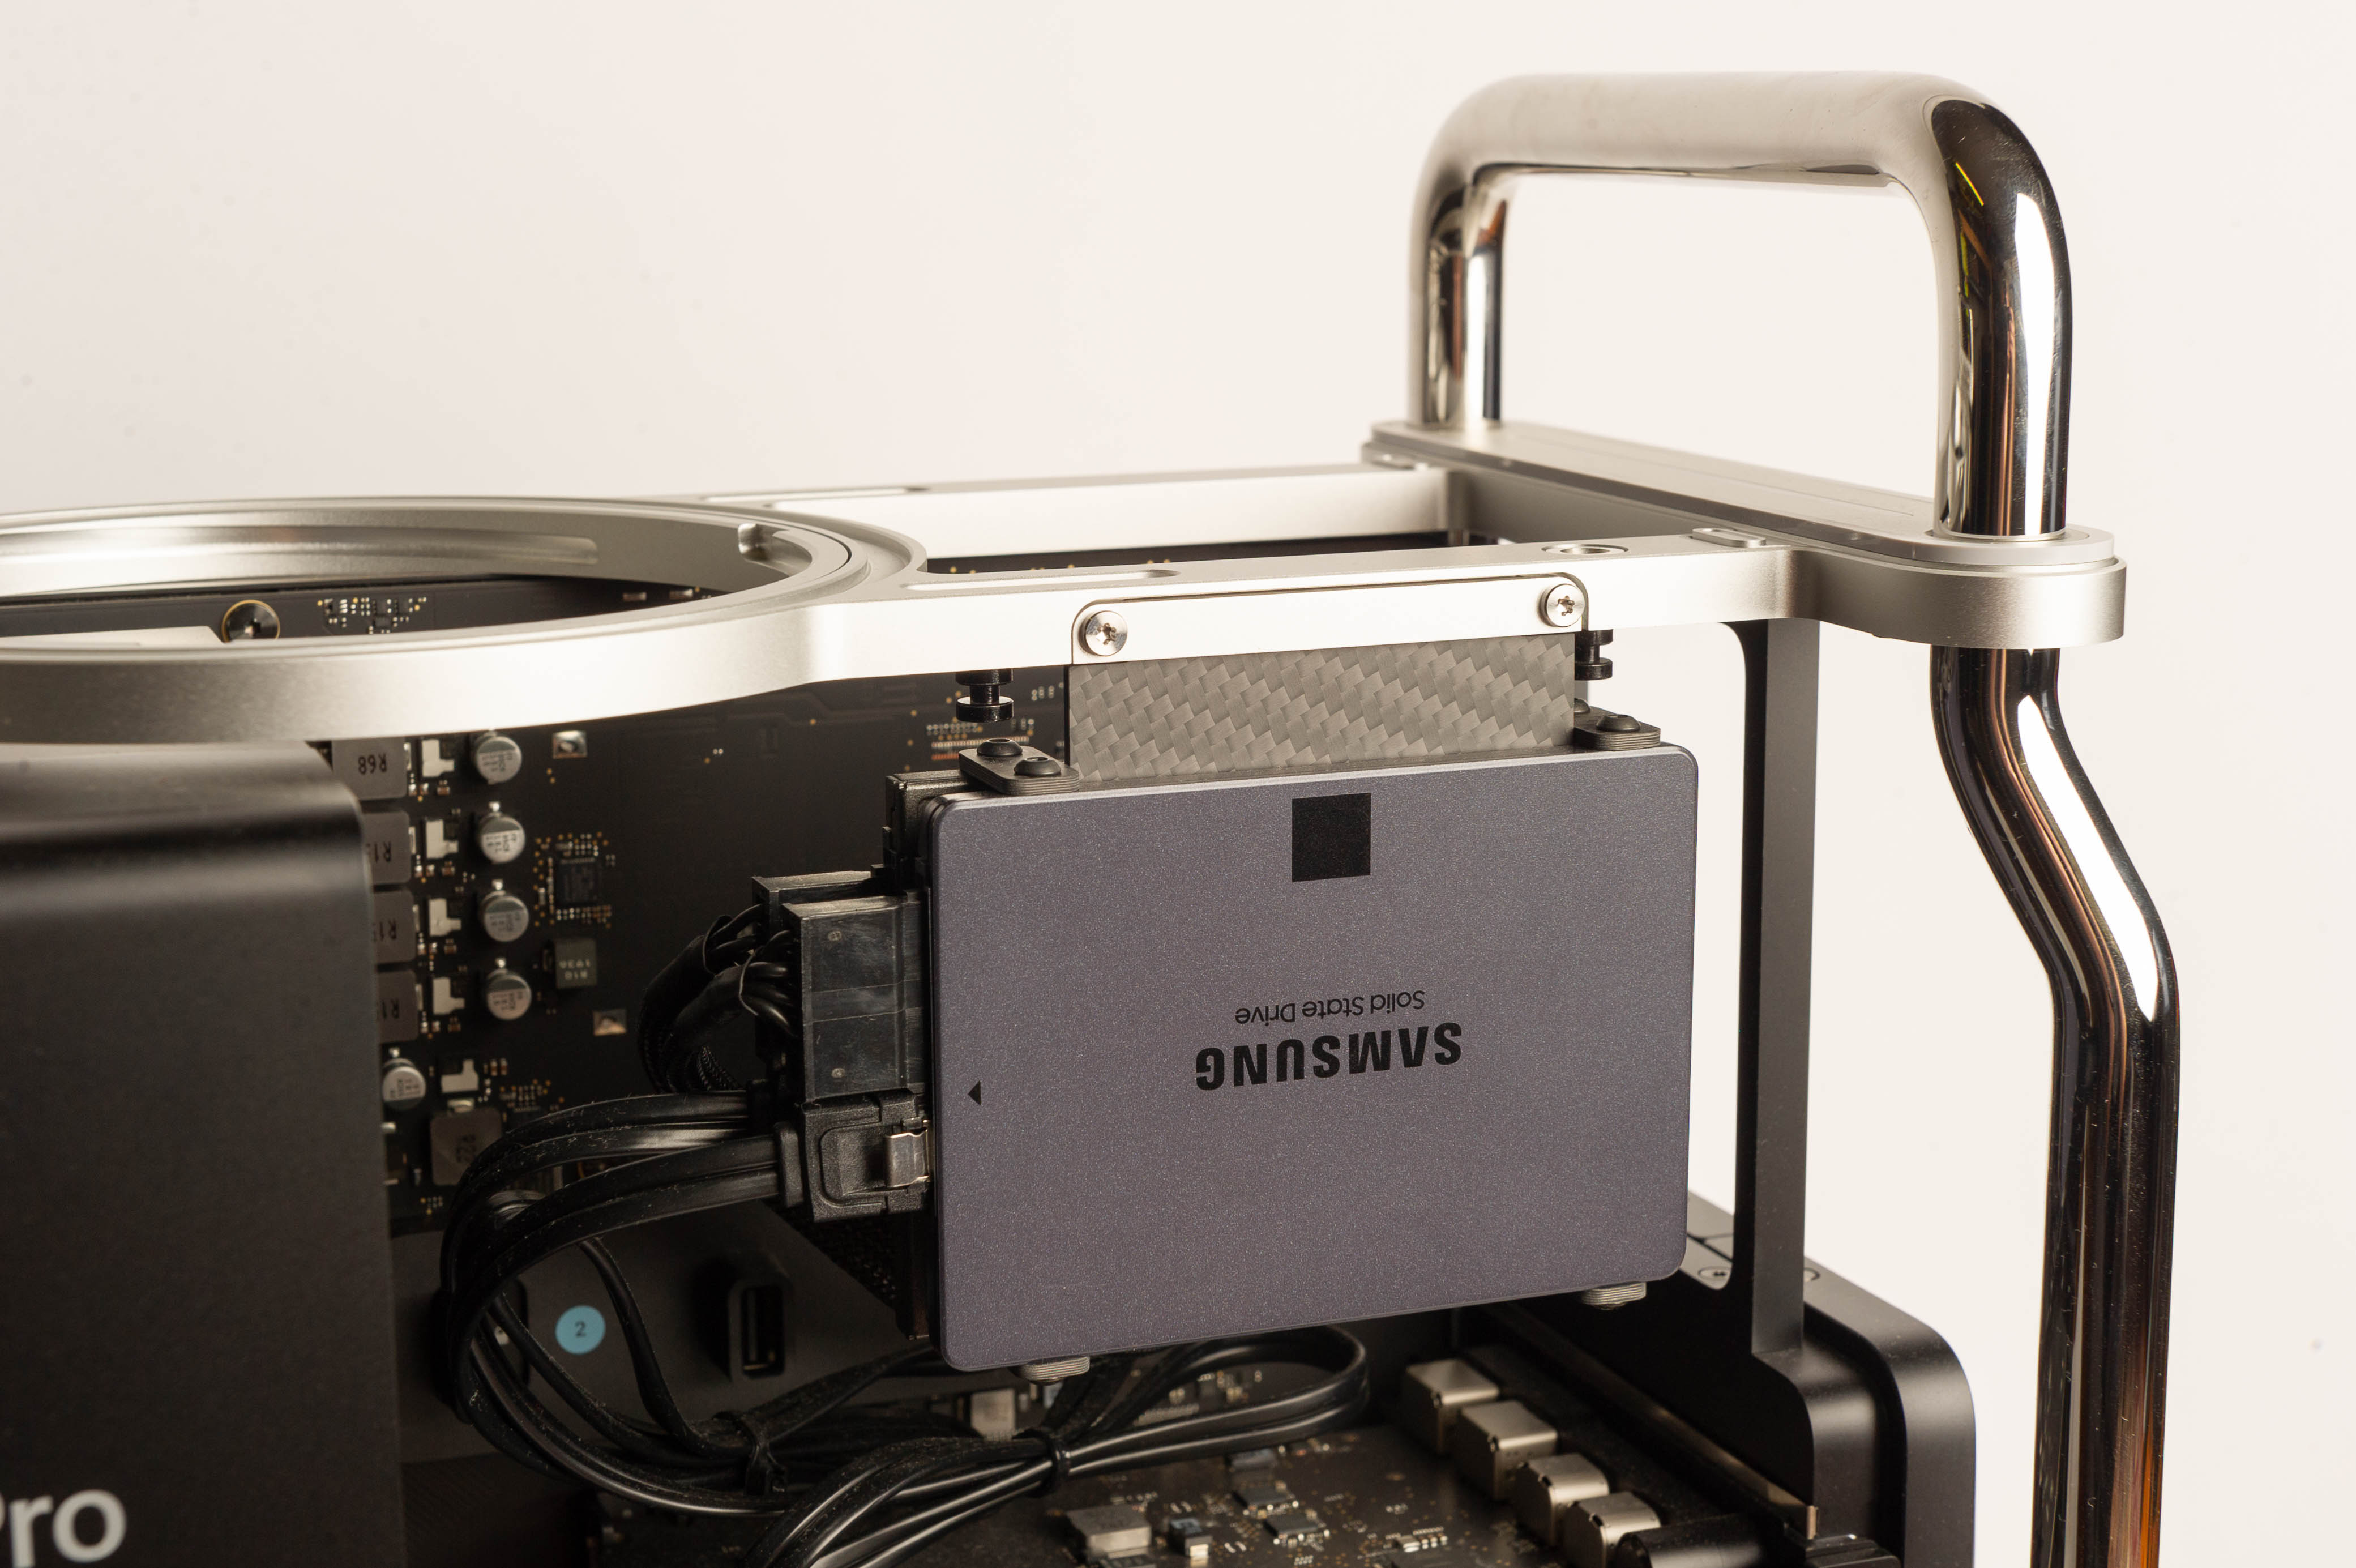
Using a torx T8H driver, remove the small aluminium bracket from the Mac’s frame
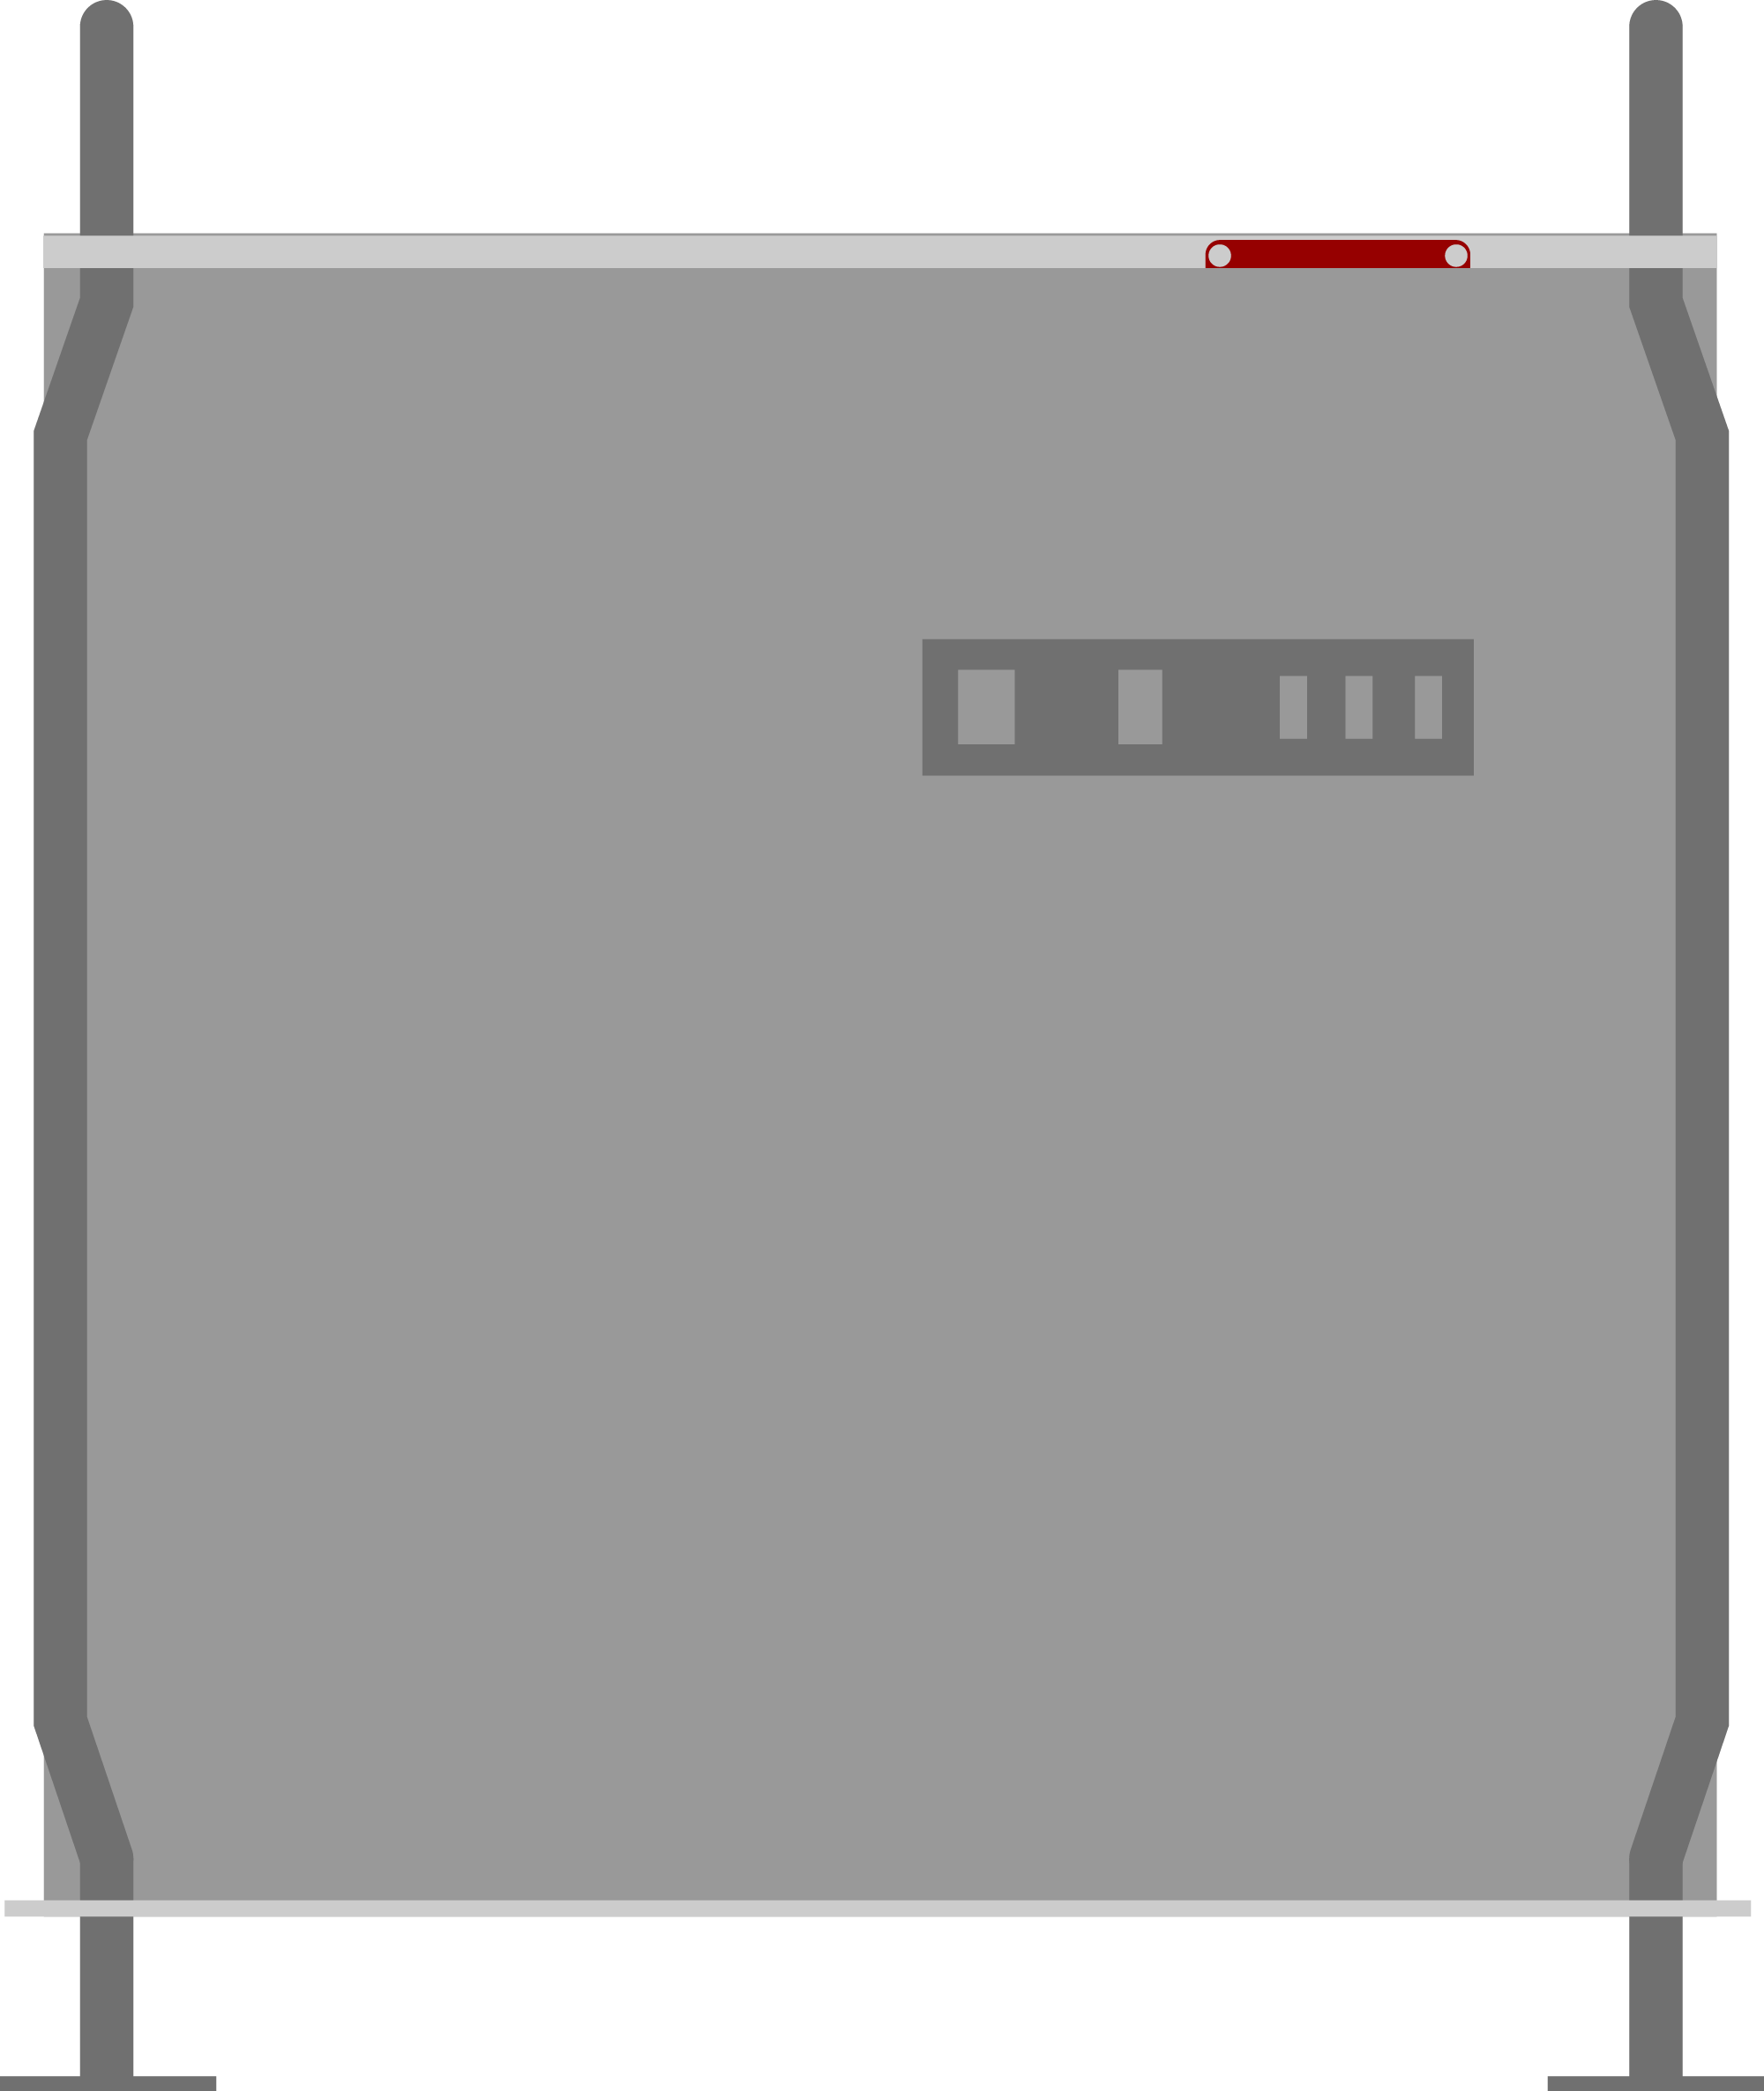
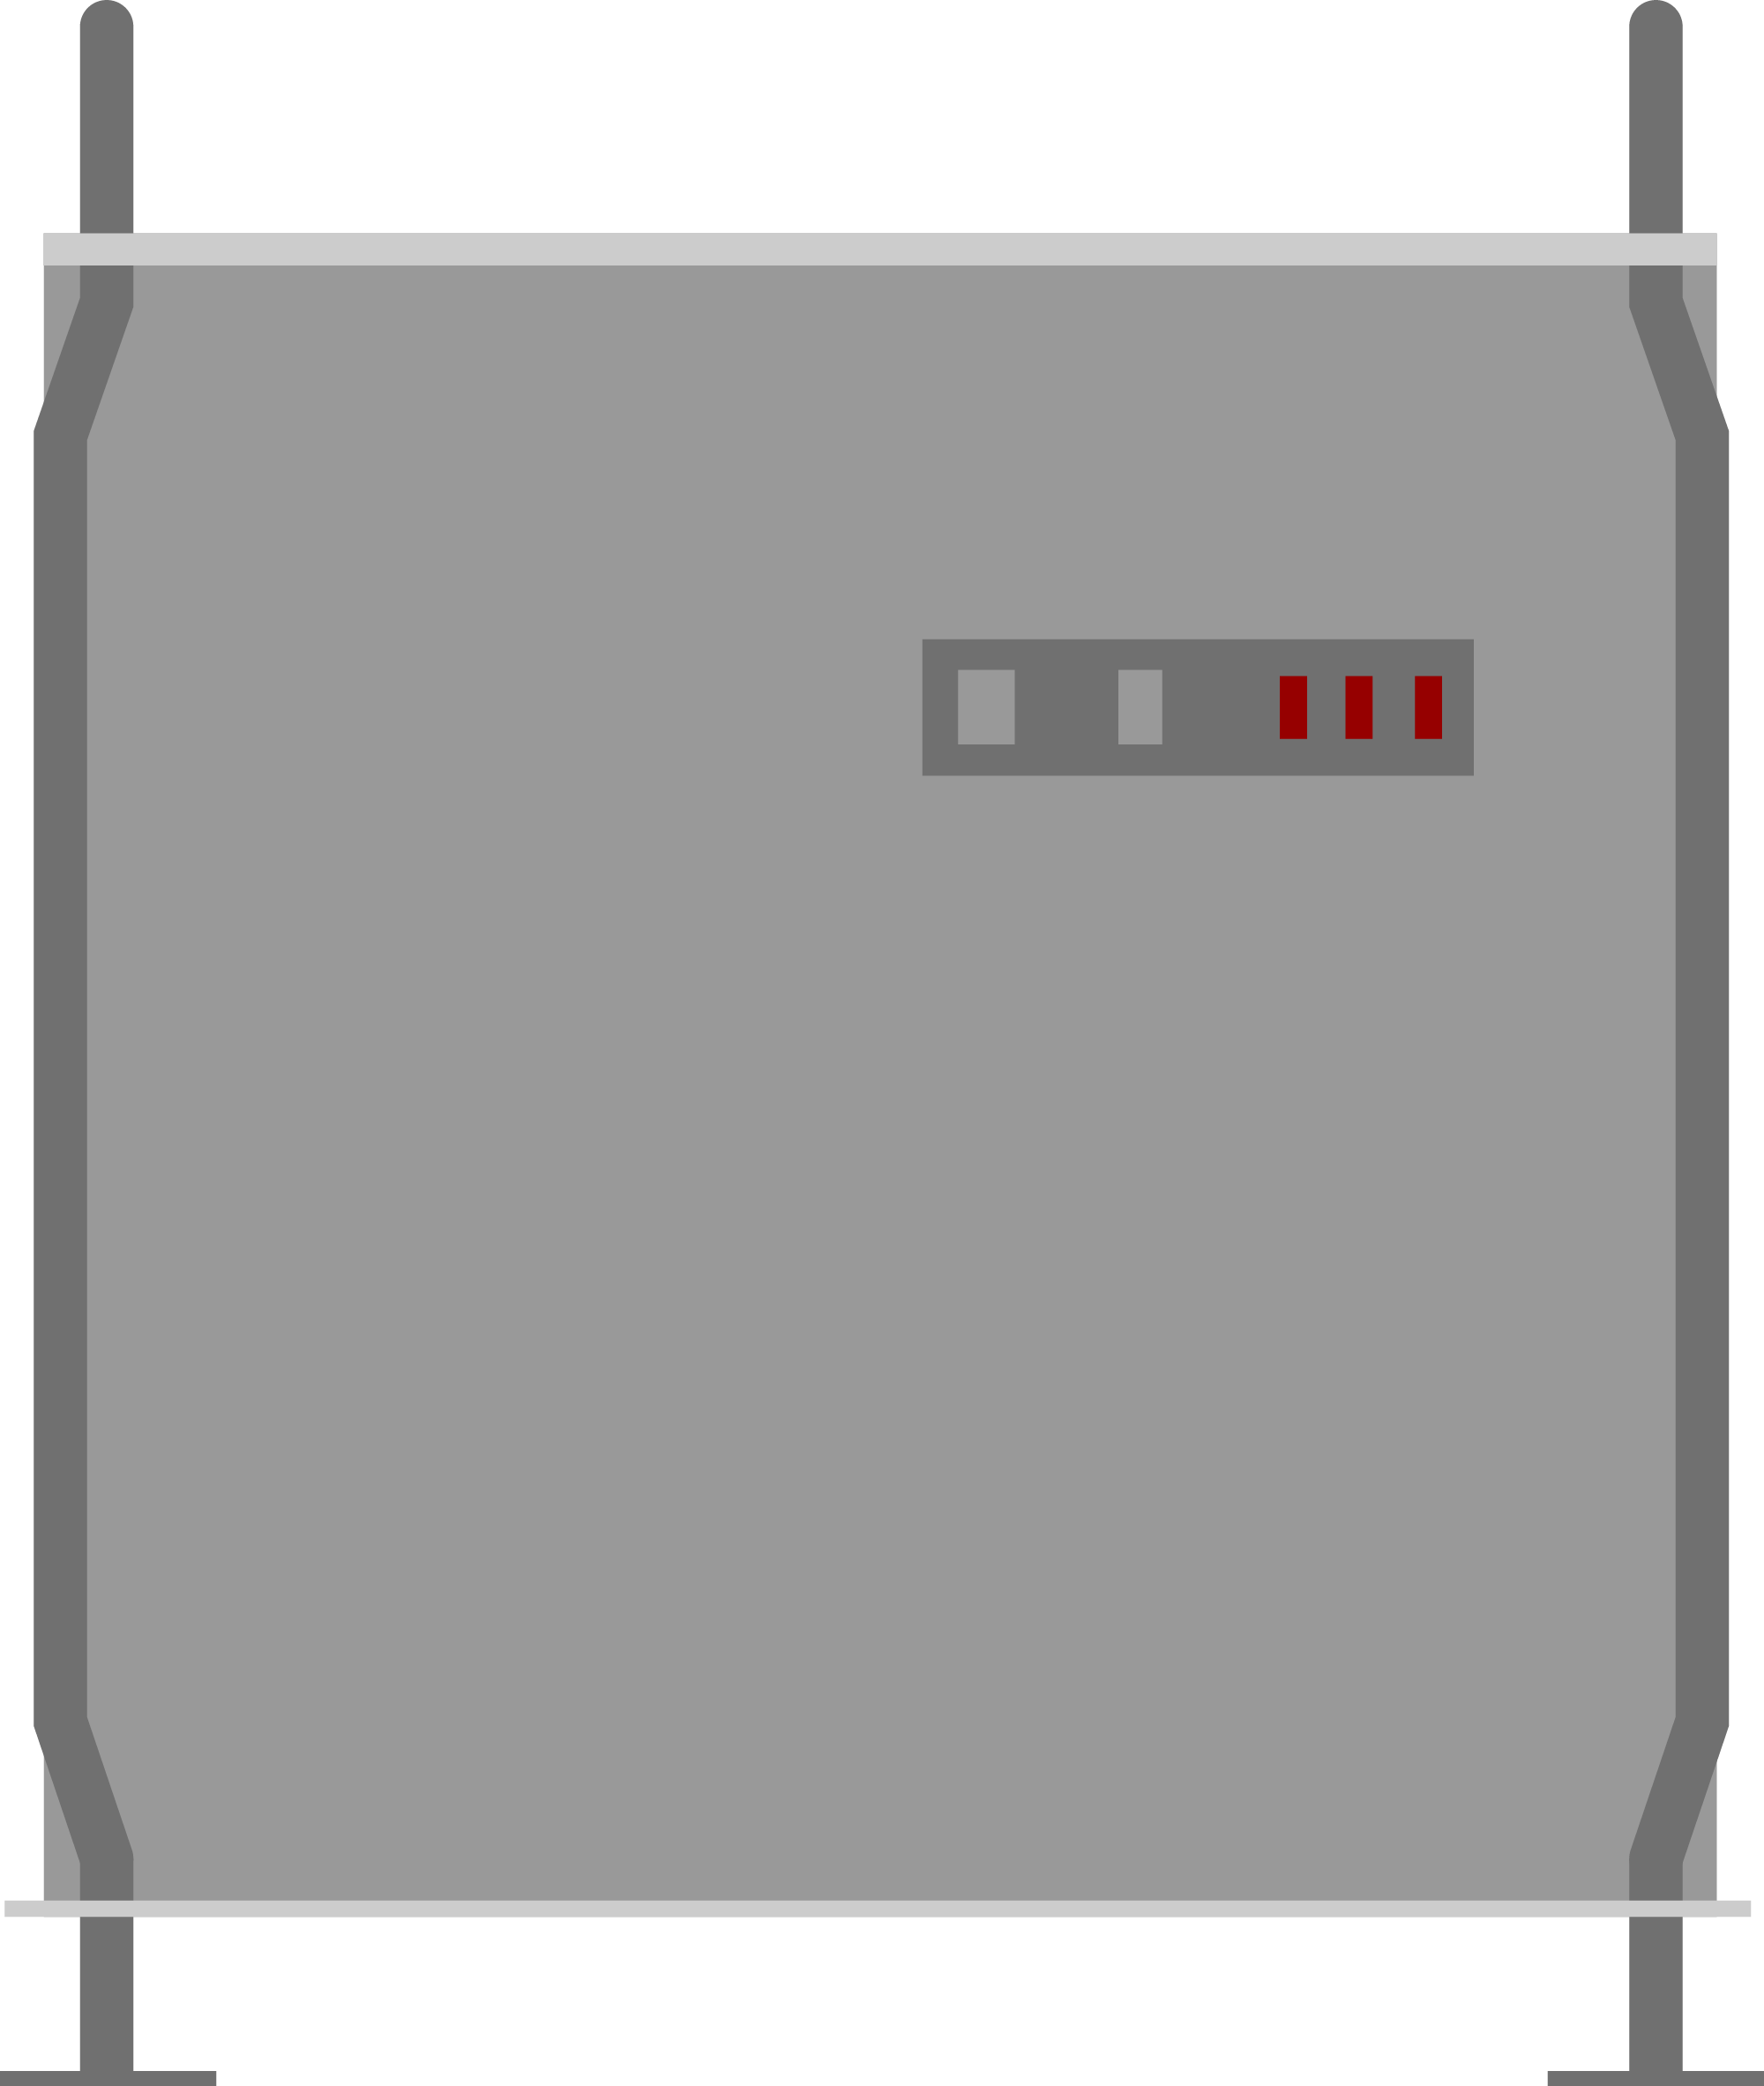
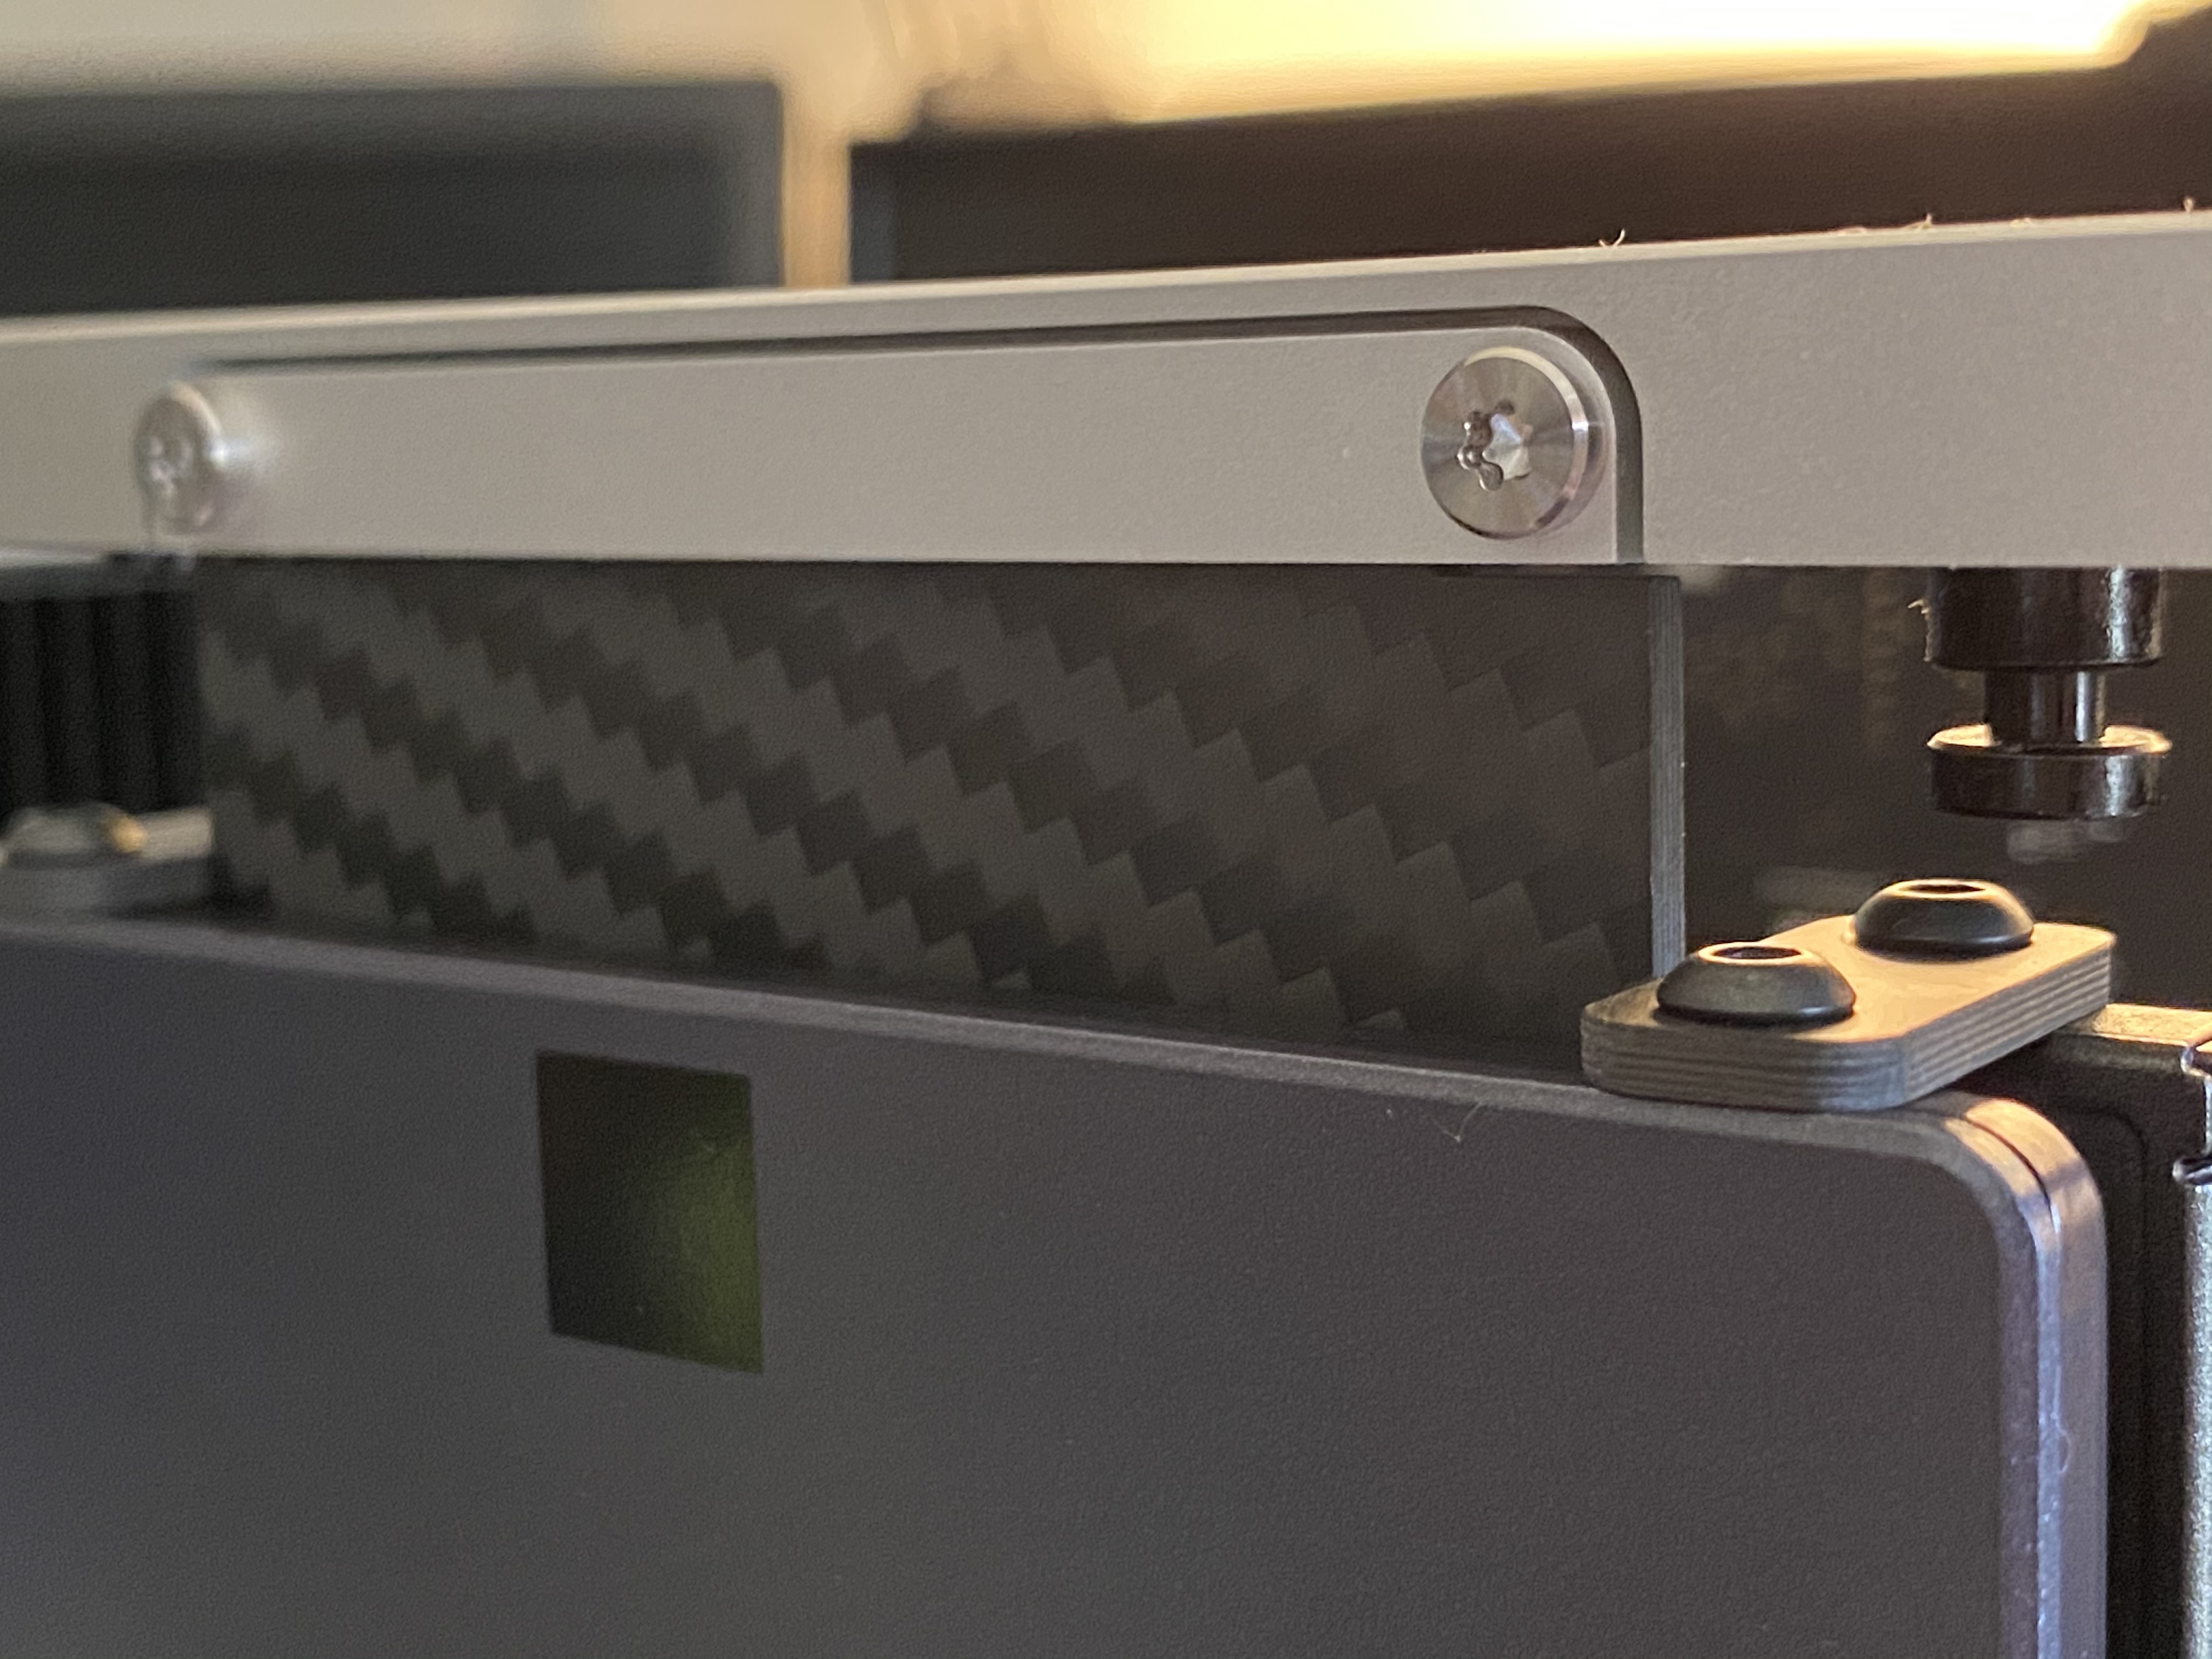
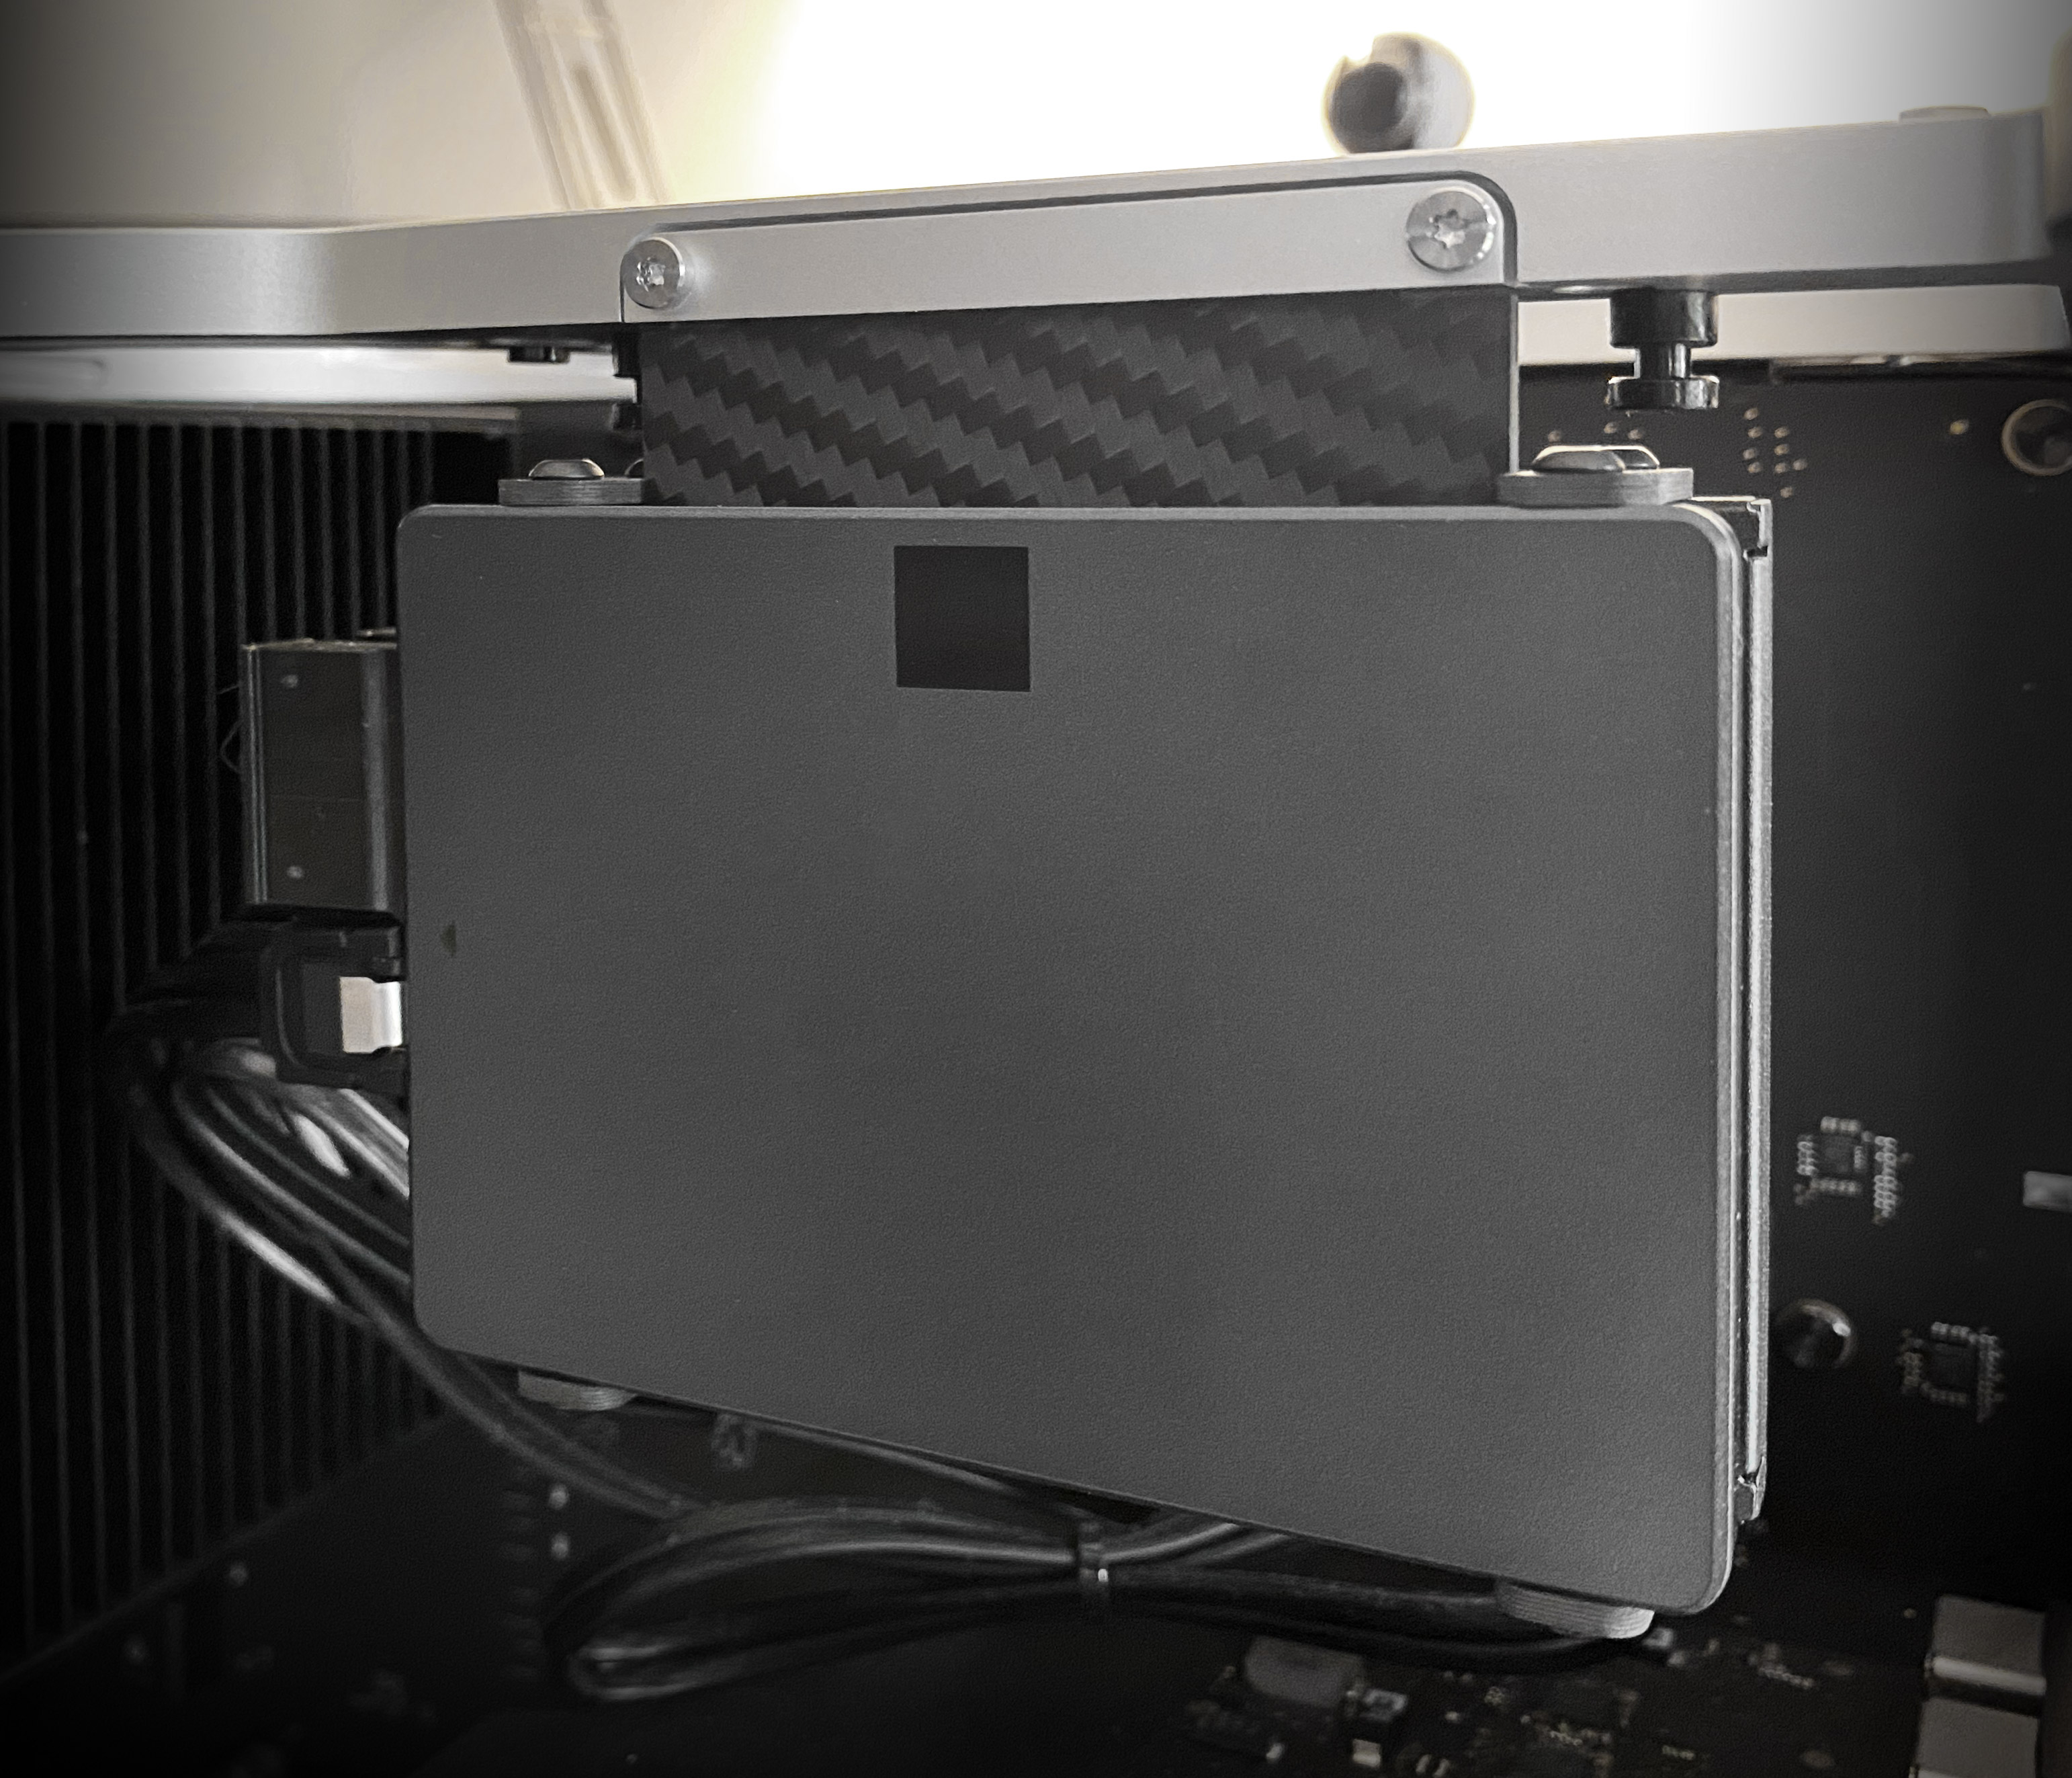
Step 8
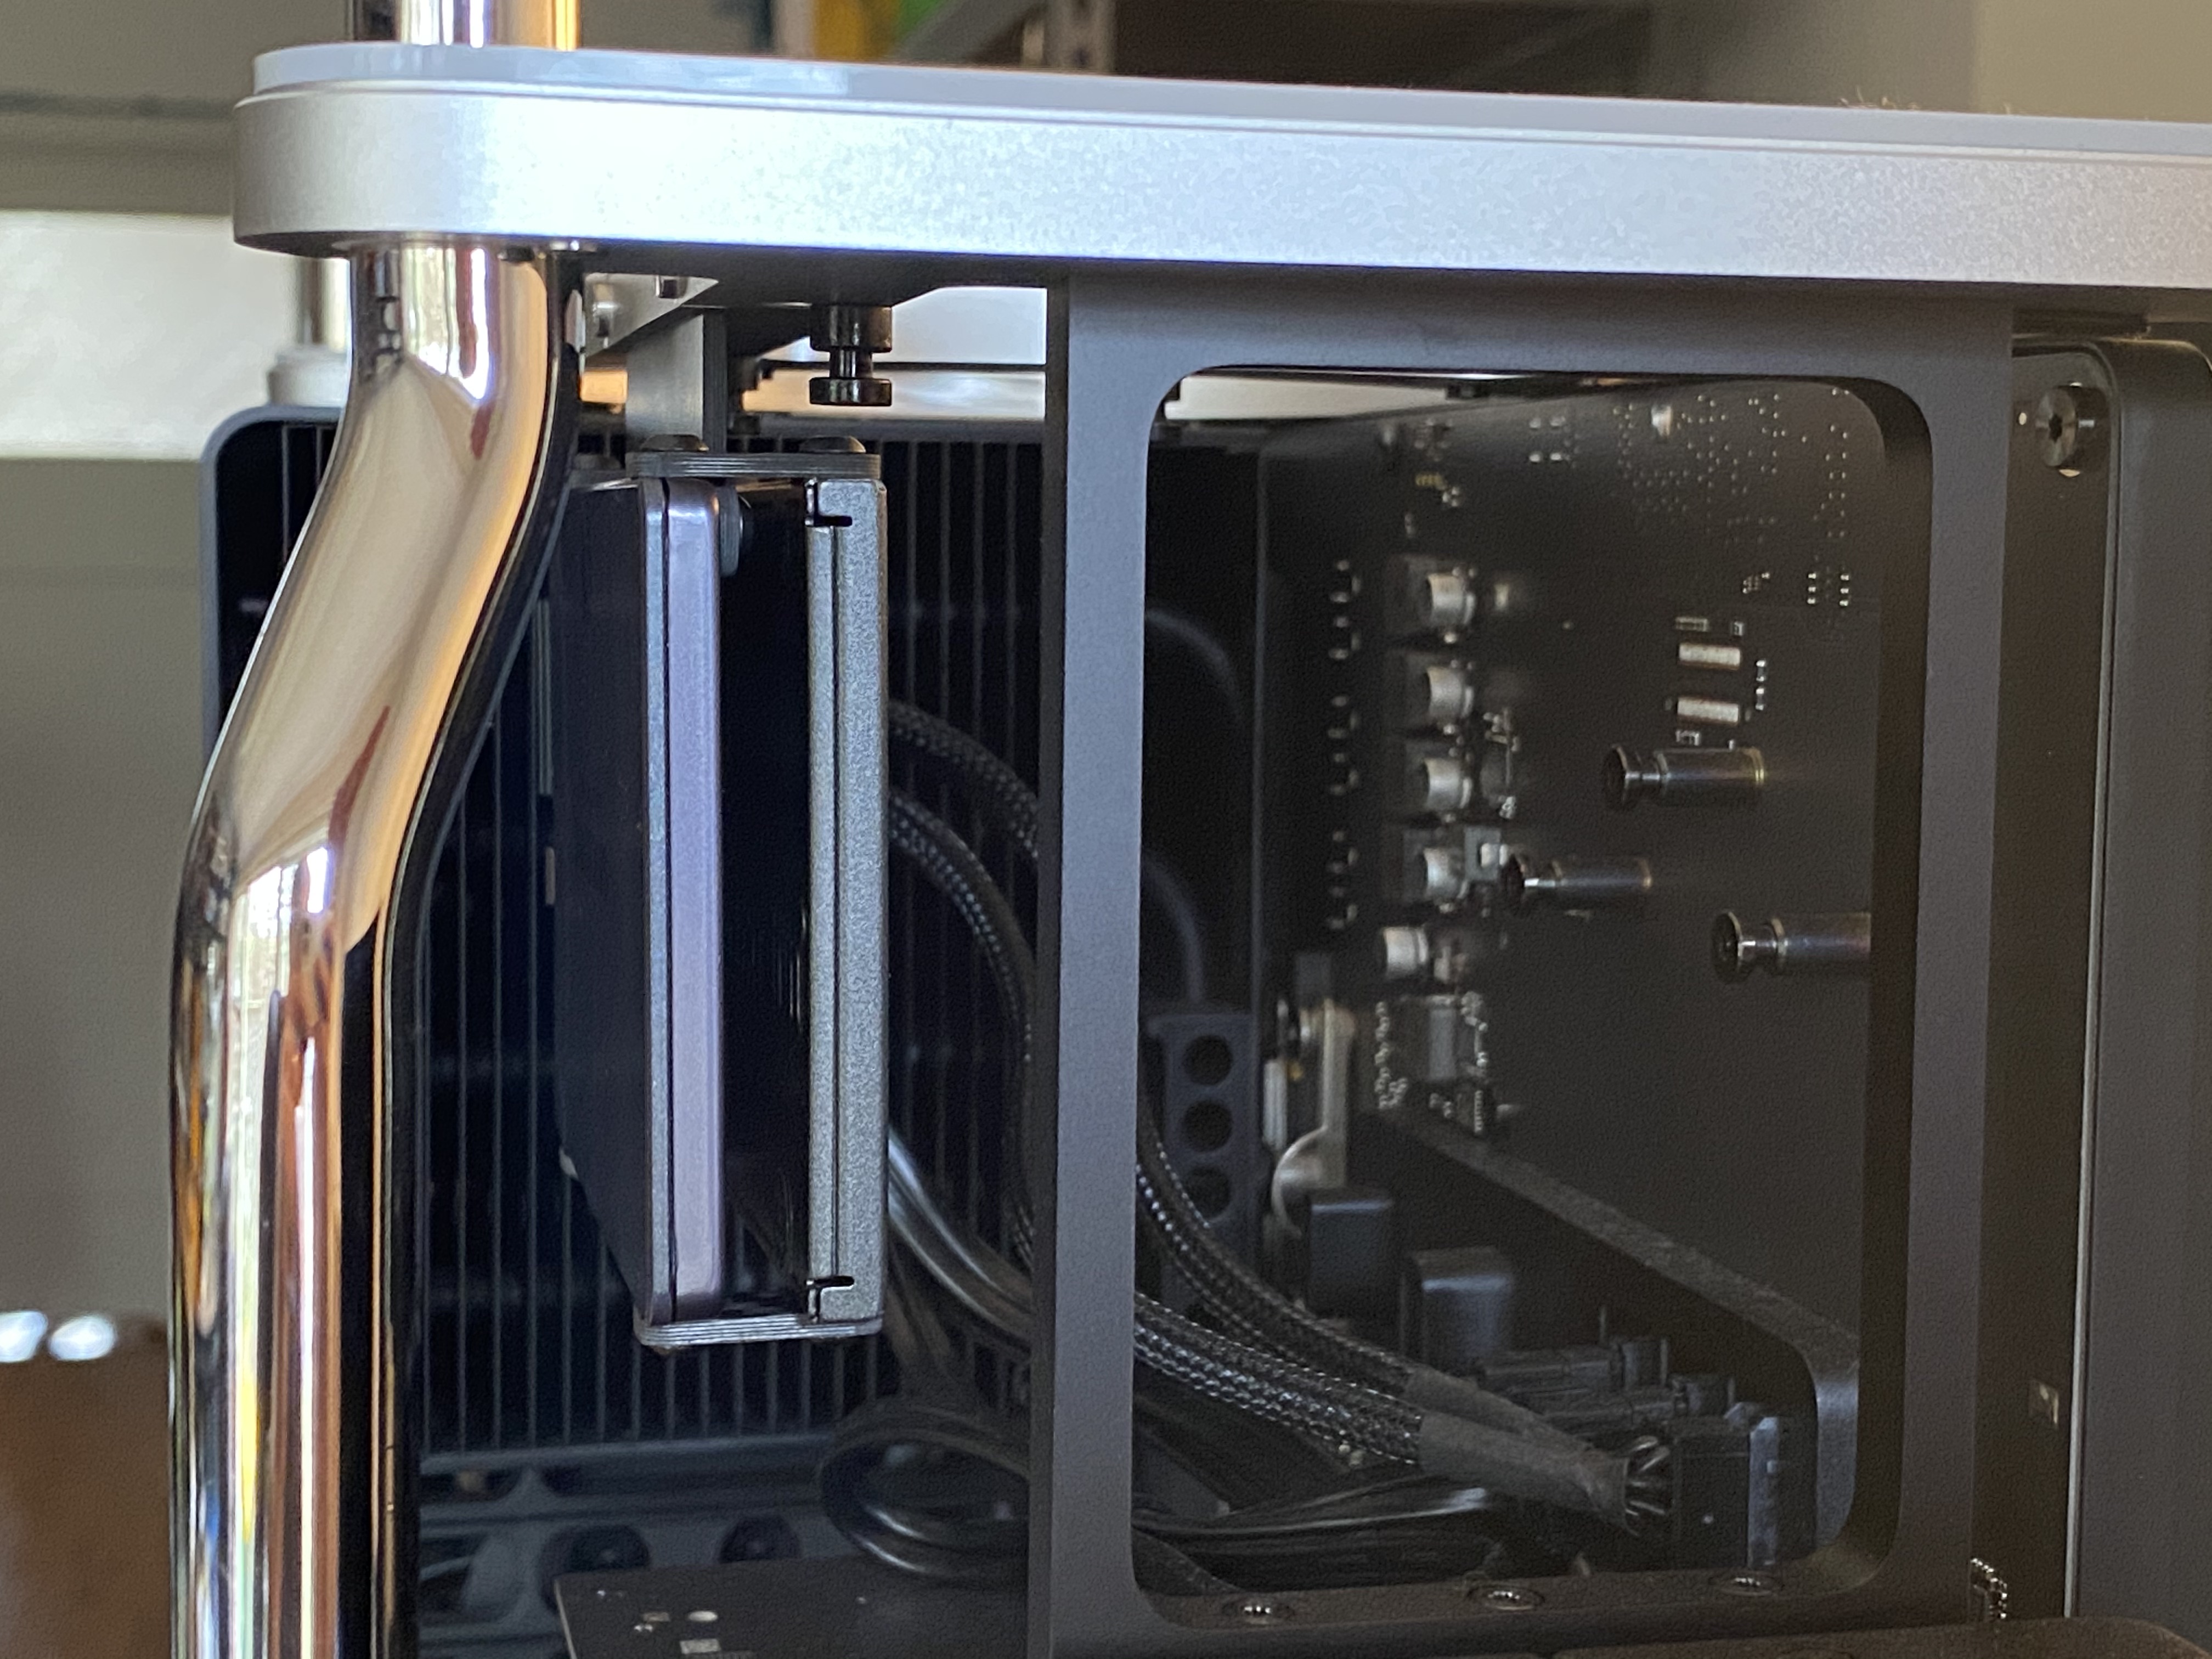
Sandwich the adapter into the slot using the original bracket — being careful not to overtighten
Step 9
Connect power and data cables
Complete!
Close up the case, reconnect all your cables and power on — if required, fire up Disk Utility to get things working